FREE DOMESTIC SHIPPING ON ORDERS $99+ | 100% SATISFACTION GUARANTEED
FREE DOMESTIC SHIPPING ON ORDERS $99+ | 100% SATISFACTION GUARANTEED
A column with no settings can be used as a spacer
Link to your collections, sales and even external links
Add up to five columns
A column with no settings can be used as a spacer
Link to your collections, sales and even external links
Add up to five columns
Add description, images, menus and links to your mega menu
A column with no settings can be used as a spacer
Link to your collections, sales and even external links
Add up to five columns
Add description, images, menus and links to your mega menu
A column with no settings can be used as a spacer
Link to your collections, sales and even external links
Add up to five columns
Add description, images, menus and links to your mega menu
A column with no settings can be used as a spacer
Link to your collections, sales and even external links
Add up to five columns
Add description, images, menus and links to your mega menu
A column with no settings can be used as a spacer
Link to your collections, sales and even external links
Add up to five columns
DIY Tutorial - Ring Bearer Pillow, Flower Basket and a Guest Book
March 31, 2017 2 min read
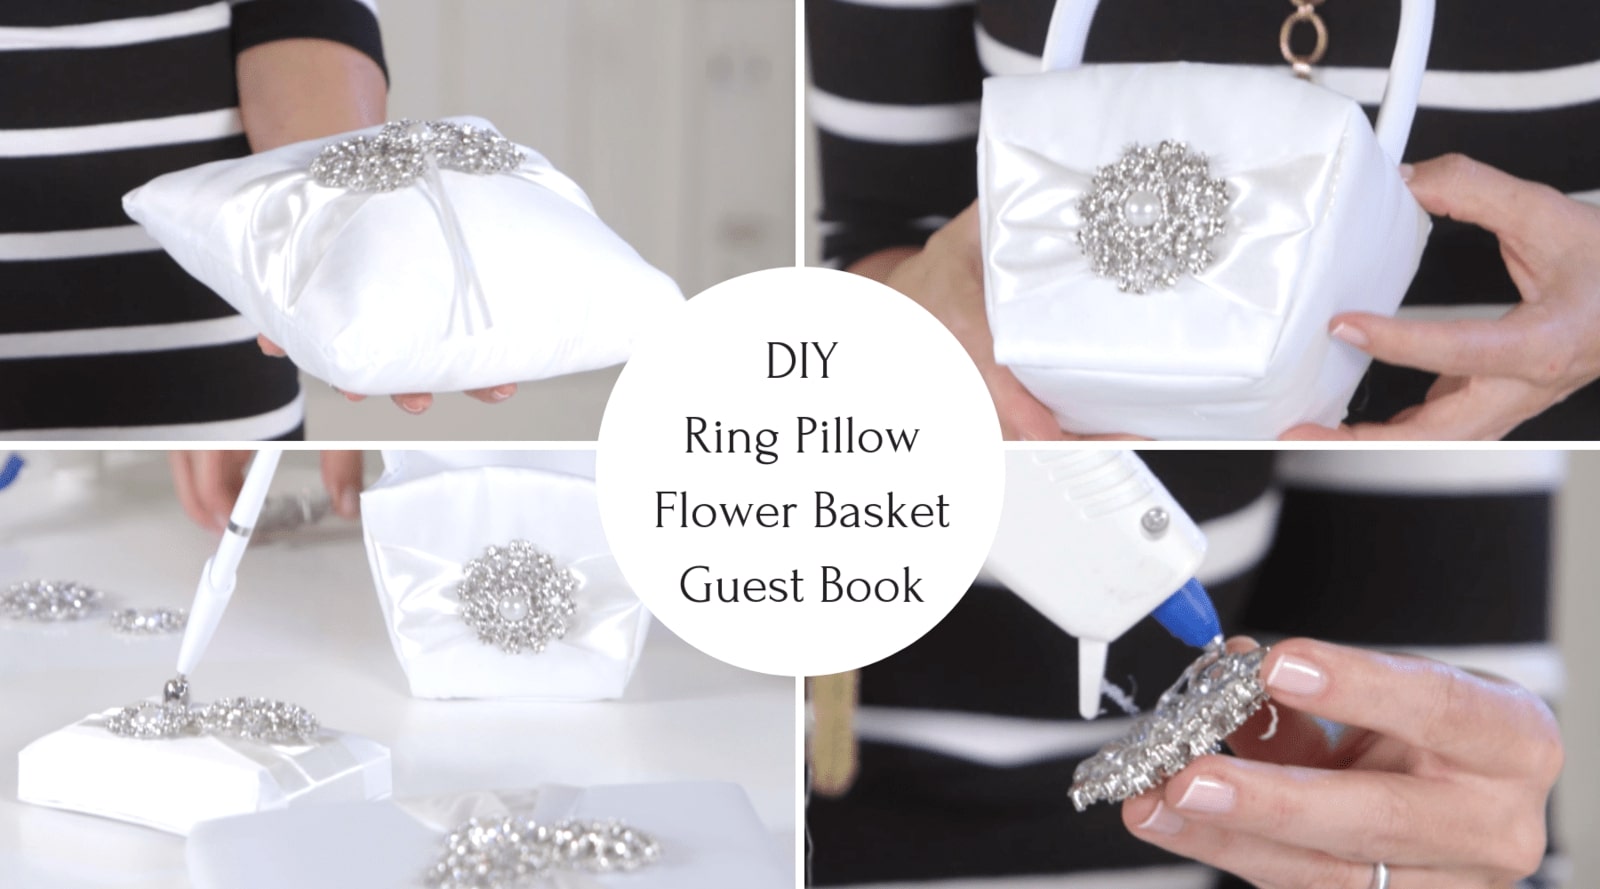
Wedding DIYS that you can do the night before they're so easy!
Today's video tutorial is nearly our simplest tutorial yet, there's one other that's as easy and as quick as this one and that's our DIY rhinestone table runner. This may, however, be right up there with my favorite DIYs for the simple fact that it's affordable, it's unbelievably quick to put together and it's absolutely glamorous. So let's get started!
For this DIY I purchased a plain white wedding accessory set that included a ring bearer pillow, a guestbook and pen stand, as well as a flower girl basket. Now, remember, you could purchase this in the color of your choice, or you could add some color to a white set like this by simply adding in a few ribbons. this is your time to get creative and have fun. We featured these accessories in our winter blue, the white and blue as well as the purple and silver lookbook styles.
Take a look at our DIY Bling Wedding Accessory set video
What you'll need to make this DIY:
- A selection of rhinestone brooches or flat backs
- wire cutters
- A glue gun with extra or pro strength glue sticks. E6000 is also great for this purpose.
- Sewing pins to help you find your look before committing to it with glue.
If you've chosen brooches for this project, it will be a good idea to use your wire cutters to snip off the back of the brooch so that your brooch now acts as a flat back.
Starting with any of the four items in the kit, play around with the arrangement of the rhinestone pieces you've chosen. I've made use of two of our most popular brooches, the antique starburst rhinestone brooch, and the flower rhinestone pearl brooch. Once you've decided on the look that you like, apply the glue generously to the outer edges of the back of the brooch to ensure the strongest grip on your rhinestone pieces.
It's as simple as that. Arrange, glue, admire!
As I've mentioned in the DIY video, this is one of those last minute DIYs that you could even do the night before so if you're in a pinch, this is a great bailout DIY that doesn't look like a bailout as it's gorgeously glamorous and full of sparkle.
Quick ideas:
Mix and match those brooches. There's no wrong or right here, only what you like and don't like.
For a different look, consider using brooches from our gold range or pearl range.
Brighten the basic accessory kit up with a splash of color. You can introduce a color ribbon, other elements like flowers and even tulle to add that extra something to your items.
Psst...We have a giveaway!
One lucky winner will receive this beautiful wedding accessory set. All you have to do to take part in the giveaway is to leave a comment on the video. The winner will be chosen on April 11th, 2017.
Shop the Rhinestone Products we used in this DIY
Take a look at our Lookbook 2016 Pinterest Board

