FREE DOMESTIC SHIPPING ON ORDERS $99+ | 100% SATISFACTION GUARANTEED
FREE DOMESTIC SHIPPING ON ORDERS $99+ | 100% SATISFACTION GUARANTEED
A column with no settings can be used as a spacer
Link to your collections, sales and even external links
Add up to five columns
A column with no settings can be used as a spacer
Link to your collections, sales and even external links
Add up to five columns
Add description, images, menus and links to your mega menu
A column with no settings can be used as a spacer
Link to your collections, sales and even external links
Add up to five columns
Add description, images, menus and links to your mega menu
A column with no settings can be used as a spacer
Link to your collections, sales and even external links
Add up to five columns
Add description, images, menus and links to your mega menu
A column with no settings can be used as a spacer
Link to your collections, sales and even external links
Add up to five columns
Add description, images, menus and links to your mega menu
A column with no settings can be used as a spacer
Link to your collections, sales and even external links
Add up to five columns
DIY Rhinestone Table Runner – Our Easiest One Yet
June 17, 2016 2 min read
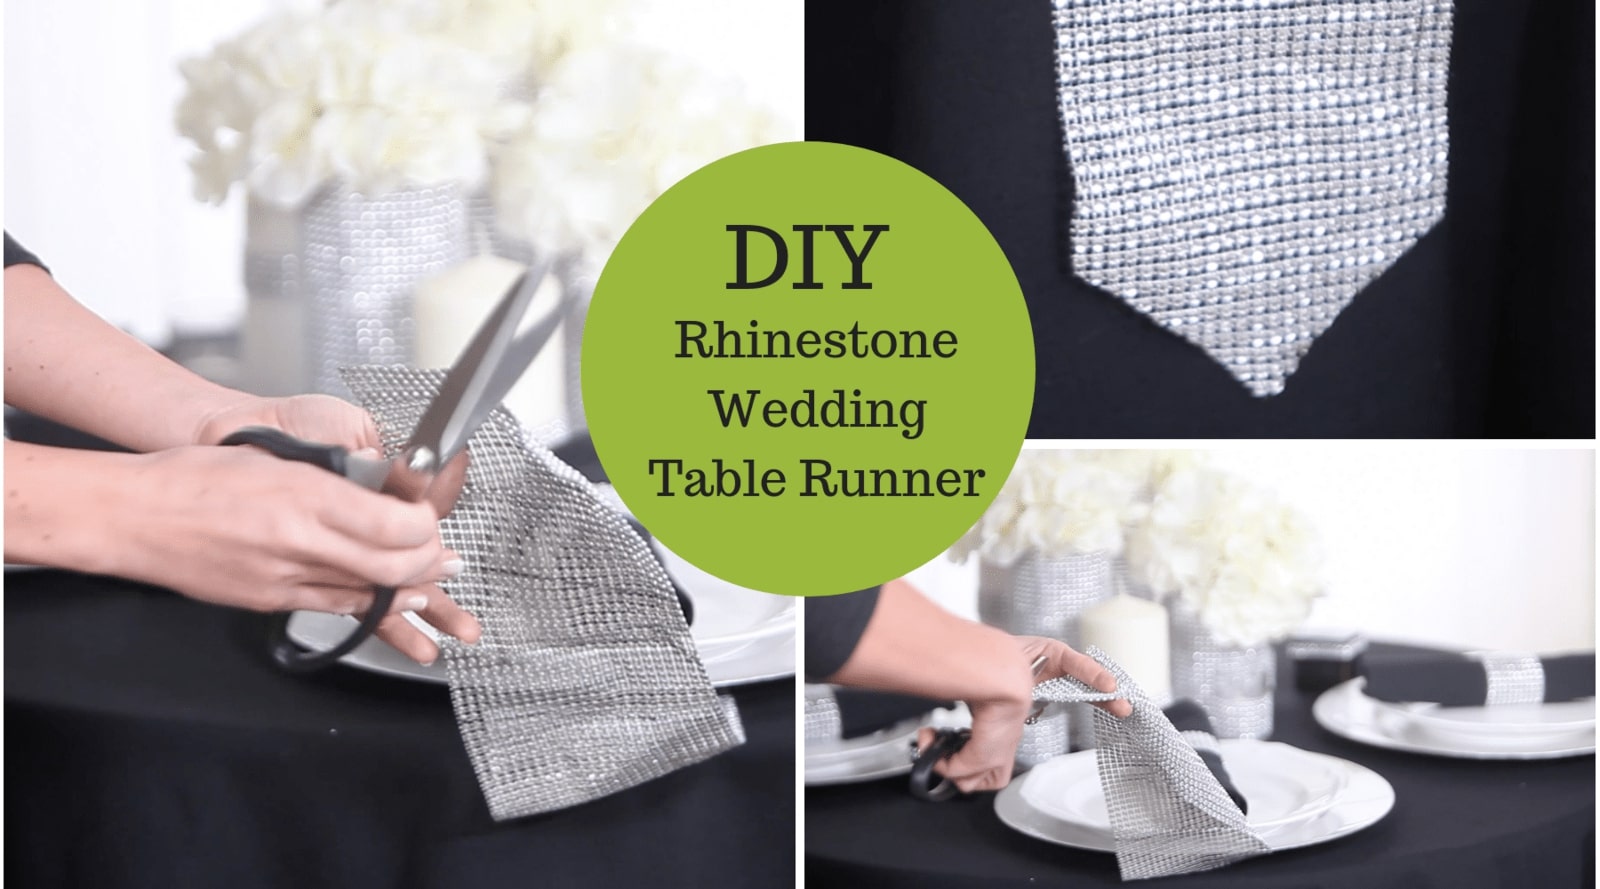
This is literally our easiest DIY tutorial! An excellent timesaver.
Today’s tutorial is perfect for the DIY bride (or event planner) who is strapped for time but still wants to add a beautiful touch to the wedding or event table settings. It’s literally the easiest tutorial I’ve done yet and I love it because It’s time saving, energy saving and incredibly cost-effective. If you’re planning something big and have a number of tables to decorate, this tutorial will come in so handy.
You’ll need
- A beautifully set table
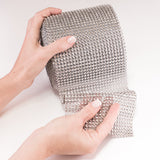
- A length of our “bling-on-a-roll” rhinestone mesh
- A pair of scissors
That’s it, no glue, no mess, no fuss, and the best part about this project is that you control the style of the table runner by simply cutting edges in different ways. Off-cuts can be used to make other amazing décor projects, like in our DIY rhinestone chair embellishment tutorial, that will add a whole lot of sparkled and depth to your wedding décor.
Quick inspiration
- Alternate the looks by cutting styled edges at the end of the table runner
- For more control of the look and feel of the table runner add a table runner underneath the rhinestone mesh. This will also add an element of depth to your table by layering the items. Choose a color that contrasts well with your rhinestone and table cloth.
- Off cuts of the bling on a roll can be re-purposed to decorate candles, chairs, picture frames, wedding invitations, favors, guest books, even shoes and the list goes on. Get creative and have a blast figuring out how you can add some sparkle in the details.
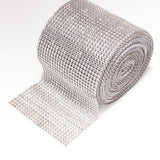
Note: The rhinestone mesh can be cut any way you’d prefer. The grid design makes it easy to handle and allows for beautiful straight lines meaning you don’t have to waste time measuring and drawing lines when you’re cutting to size. The ability to quickly cut and create is what makes the bling-on-a-roll an awesome, must-have wedding décor item.
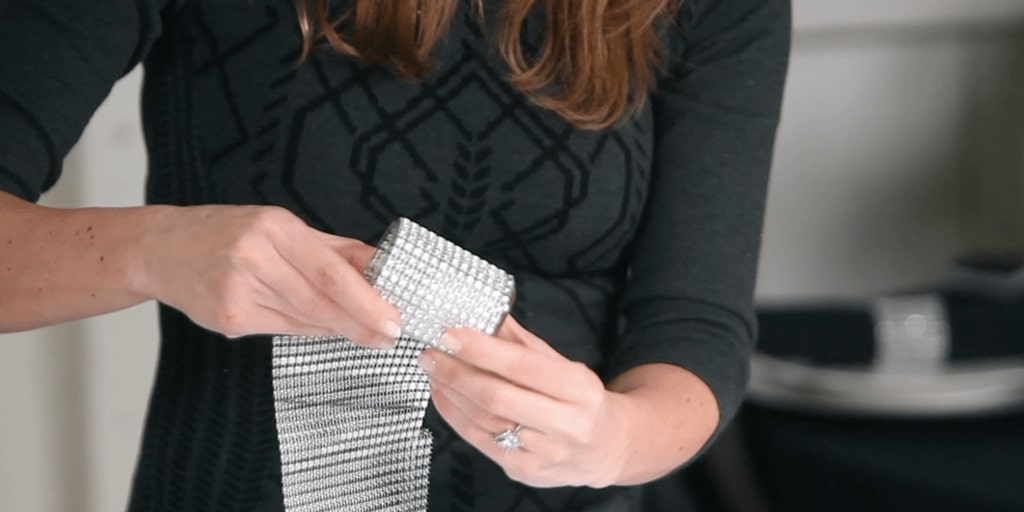
Subscribe to the Totally Dazzled Youtube channel for more great DIY's, updates and interesting ideas.

