How to Make a Wedding DIY Centerpiece - Brooch Ball Centerpiece
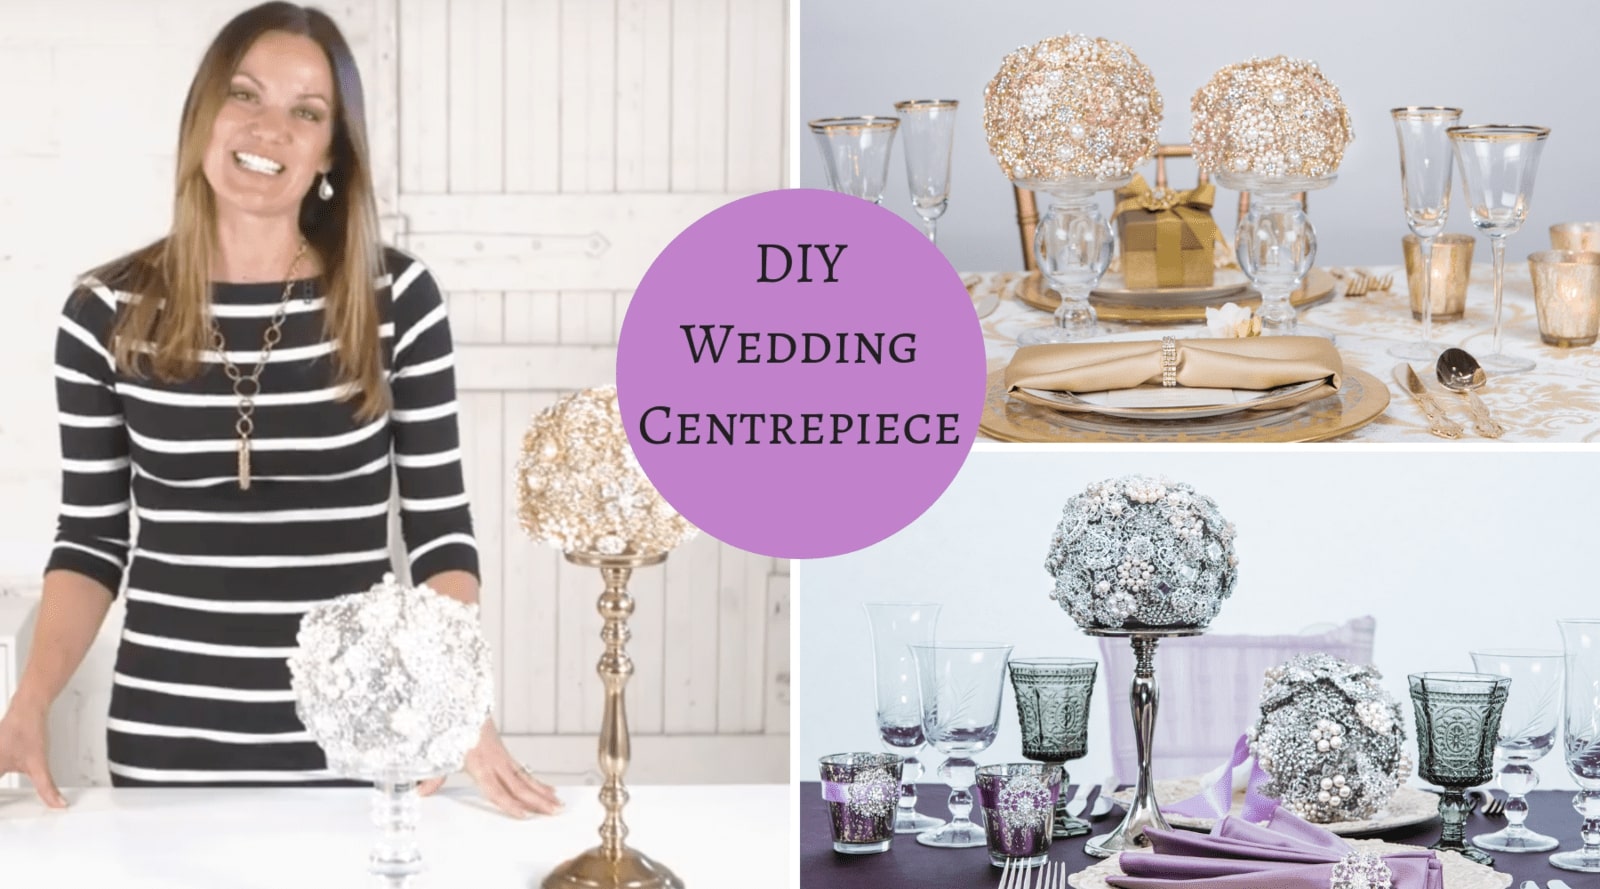

Absolutely Gorgeous DIY Wedding Centerpiece
An original DIY by Totally Dazzled
Last year we launched our very first lookbook which was an immensely big step for us and we’re still buzzing with excitement about it. We featured a stunning silver brooch ball centerpiece in our purple and silver lookbook style as well as a gold centerpiece in our gold style. We’re exceptionally excited to be sharing the tutorial for this stunning wedding DIY with you today as it’s an original and we haven’t seen anything like it out there.
Inspired by the growing trend of brooch bouquets, we wanted to come up with a bling DIY that would look amazing on the reception tables as well. Events and weddings can be dressed up with brooch balls like this and you can decide on the size and display based on your theme.
For a grander look, add a candle stick to the bottom, ensuring that the opening of the vase is smaller than the surface of the candlestick, allowing the vase to balance on top.
We’re giving you the basics of the DIY project but feel free to play around with the size of the round vase, the choices of your rhinestone embellishments, and the display options to get the look you want.
Take a look at our Brooch Ball Centerpiece DIY Video
In order to make your DIY brooch ball centerpiece you’ll need:
- A round glass vase
- An assortment of rhinestone brooches and rhinestone embellishments (we selected pearl brooches and clear stone pieces for this project).
- Small wire cutters (for clipping off the backings of some of the pieces.
- A glue gun and some glue sticks or E6000 glue. Please note that if you are using glue sticks, be sure to invest in the strongest that you can find to ensure a long and permanent stick.
Be sure to add more than enough glue to your pieces and hold them in place for several seconds to ensure a very tight stick as you don’t want pieces falling off after the fact.
As a last suggestion, it’s a good idea to give yourself ample time to complete the centerpieces so that you can put it together at your own pace and really just have fun with it. It also depends on how many of these centerpieces you’d like to make but we definitely feel that this is not a day before wedding DIY.
Quick Ideas
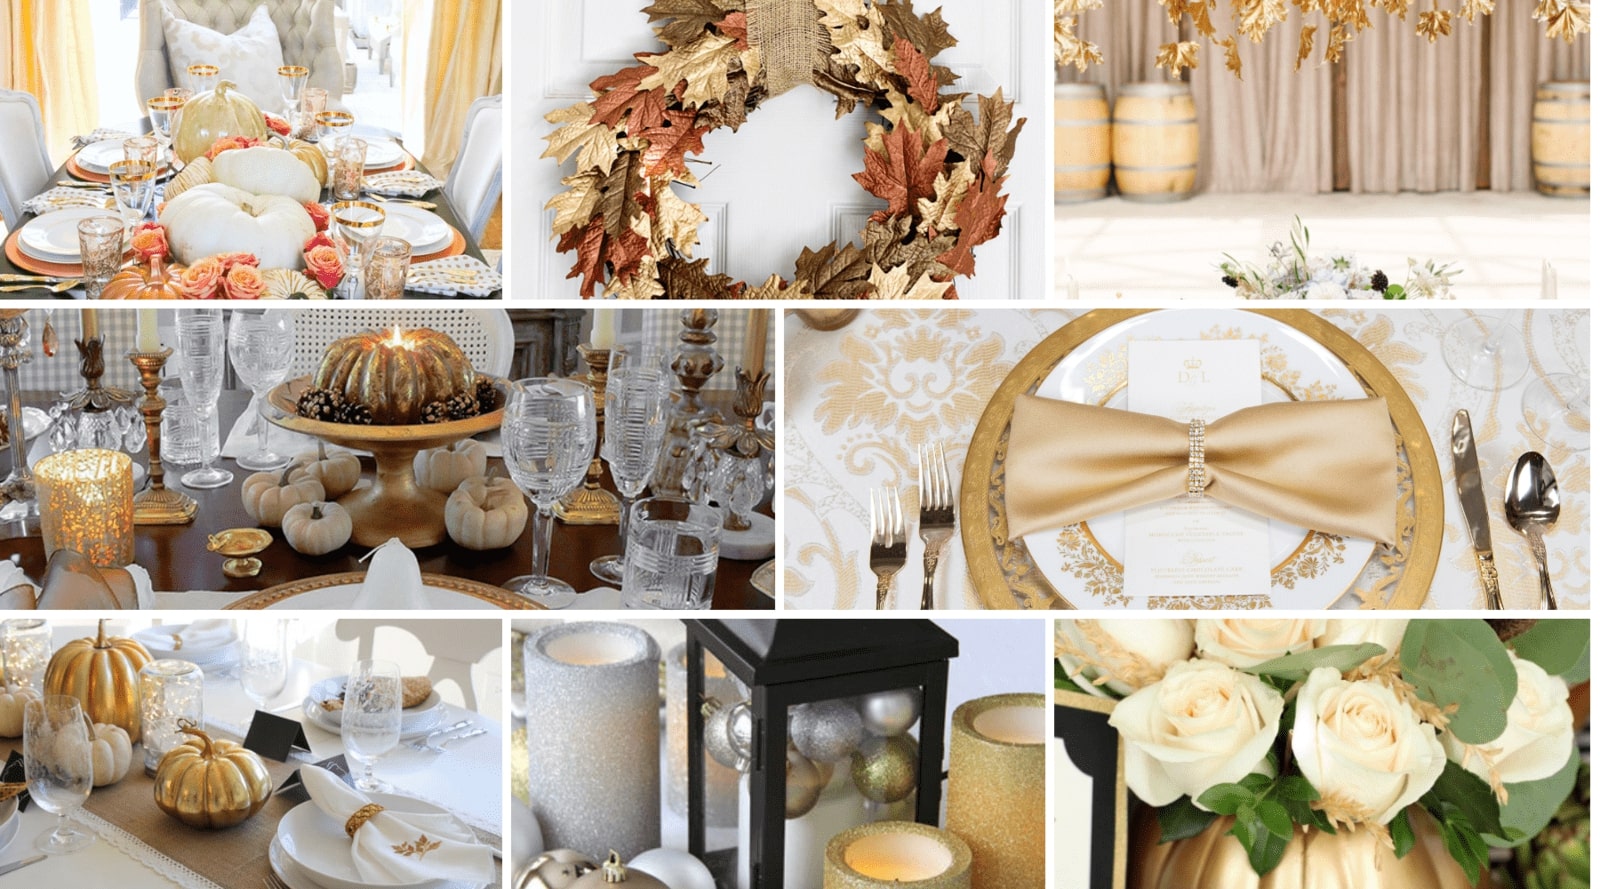
- If you’re looking for an absolutely glamorous and chic look, consider incorporating fresh floral elements along with the brooch ball centerpieces. Not only does this look absolutely stunning, it’s beyond gorgeous and will set the atmosphere for the reception area.
- Using a combination of pearl and clear stone pieces adds a lovely depth to the project. Layer the pieces to get a well-designed look.
As you can see, the brooch ball itself is relatively easy to put together, it just requires a little more time. With that said, have a blast creating your very own brooch ball centerpieces for weddings or events and remember to recycle your gorgeous creations. These will make stunning home decor centerpieces and possibly even mantelpiece decorations when paired with other decoration elements.
Shop the Rhinestone Products we used in our centerpiece
Take a look at our Lookbook 2016 Pinterest Board