How to Tie a Vertical Chair Sash
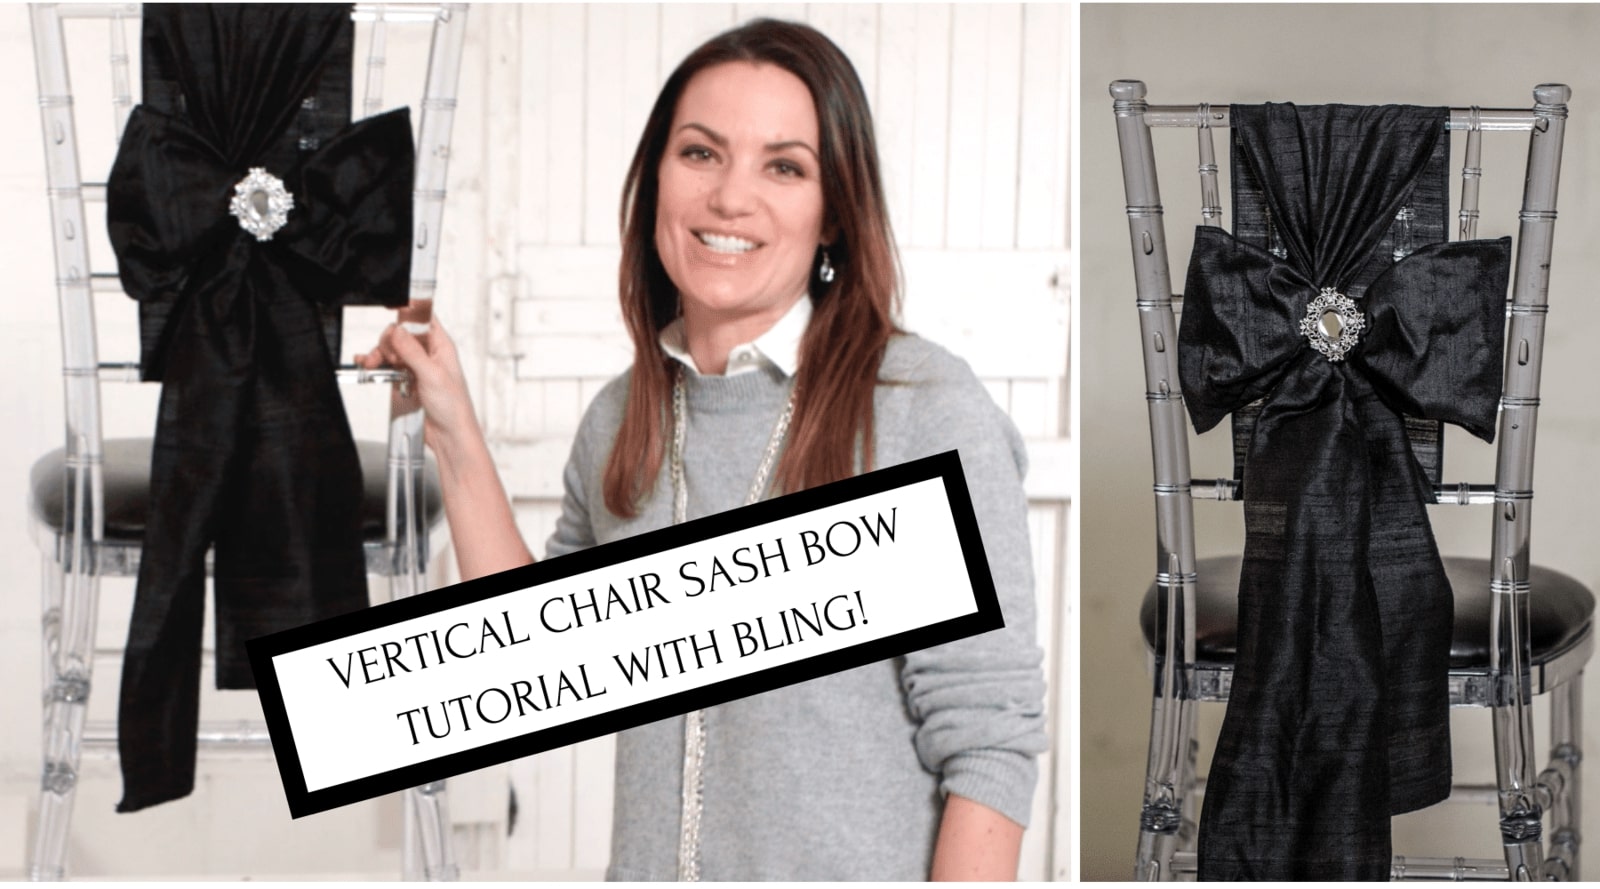

A twist to the traditional chair sash tie
This gorgeous chair sash tie method is a different take on the chair sashes I've done to date. I've covered the diagonal chair sash bow, the gorgeous flip tie chair sash, a few DIY chair sash tying options and the DIY elegant chair sash. All of these tie methods look amazing and add an elegant touch to the chair design. They're also exceptionally easy to create, making them among my favorite glam DIYs. So for today, we're taking a look at how to create a vertical chair sash.
This method is best suited to a chair that has an opening in it's back. This is because we'll actually pull the sash through the lower back and over the top of the chair to create the vertical look. I've used a chivari chair as it's both beautiful and very easy to demonstrate on.
Watch the tutorial
In order to make these DIY vertical chair sashes you'll need:
- A beautiful chair sash of your choice. Organza and satin always look great.
- Your choice of bling brooch or buckle slider
- A chair of your choice.
These tie methods have totally captured my heart. They're incredibly easy to style and look elegant. It sometimes feels like something that looks this good should be either very expensive or complicated to create and these tie methods that I've been showcasing over the past few weeks prove that it's not always the case. It is entirely possible to create something sophisticated in a matter of seconds, at any skill level, and without breaking the bank.
As always, start by folding your sash in half to find the center point. That center point can then be positioned at the very top of the chair. Pull the tail on the opposite side through and tie a knot at the middle of your chair's back. I've measured to ensure that my tails are of equal lengths at this point. This just helps to keep the bow looking tidy. Create your bow and pull it out a little bit or till you're happy with the size of the bow. In three simple steps, you've created a beautiful big vertical chair sash bow that is sure to wow your guests. If you'd like to take your bow up a level, you can add a rhinestone brooch or with a bit of extra planning, a beautiful slider buckle.
I've used the striking vintage crystal brooch here but you could any brooch that suits your theme best. Another great choice of embellishment is the flower rhinestone and pearl brooch.
Quick Ideas
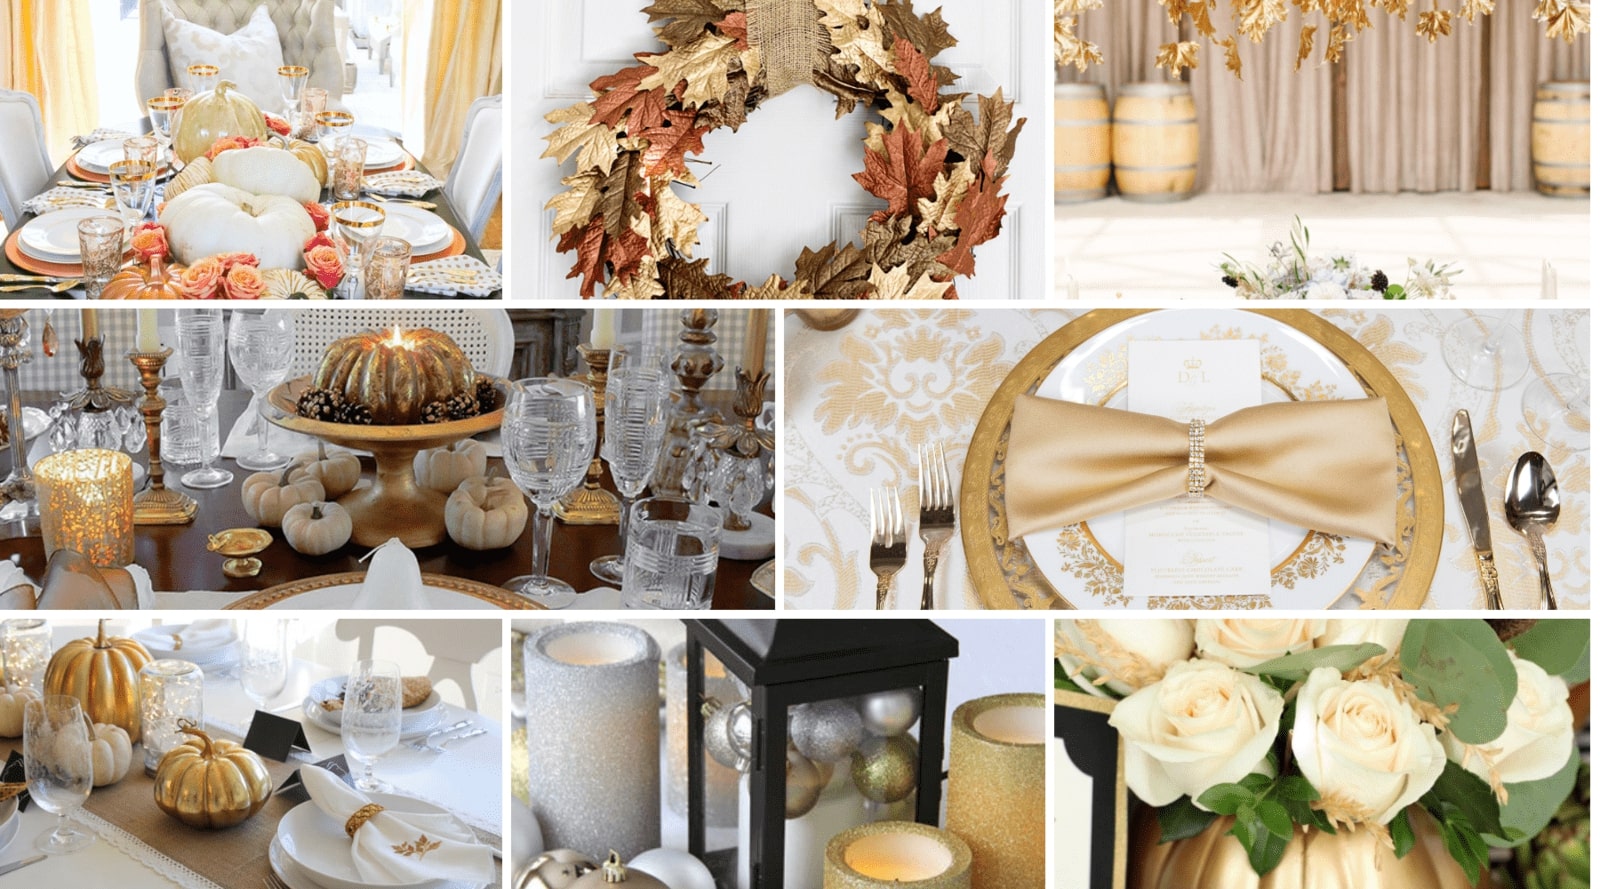
If you wanted to get creative with your chair sashes, you could consider using various types of material, possibly even doubling sashes up to get a specific look. One such example would be to pair burlap with lace for a vintage wedding with a beautiful rose crystal button as an embellishment. Another great combination is satin and tulle. This is a great combination for weddings and baby showers.
Shop the Rhinestone Products I used to make this vertical chair sash