How to Tie a Flip Tie Chair Sash
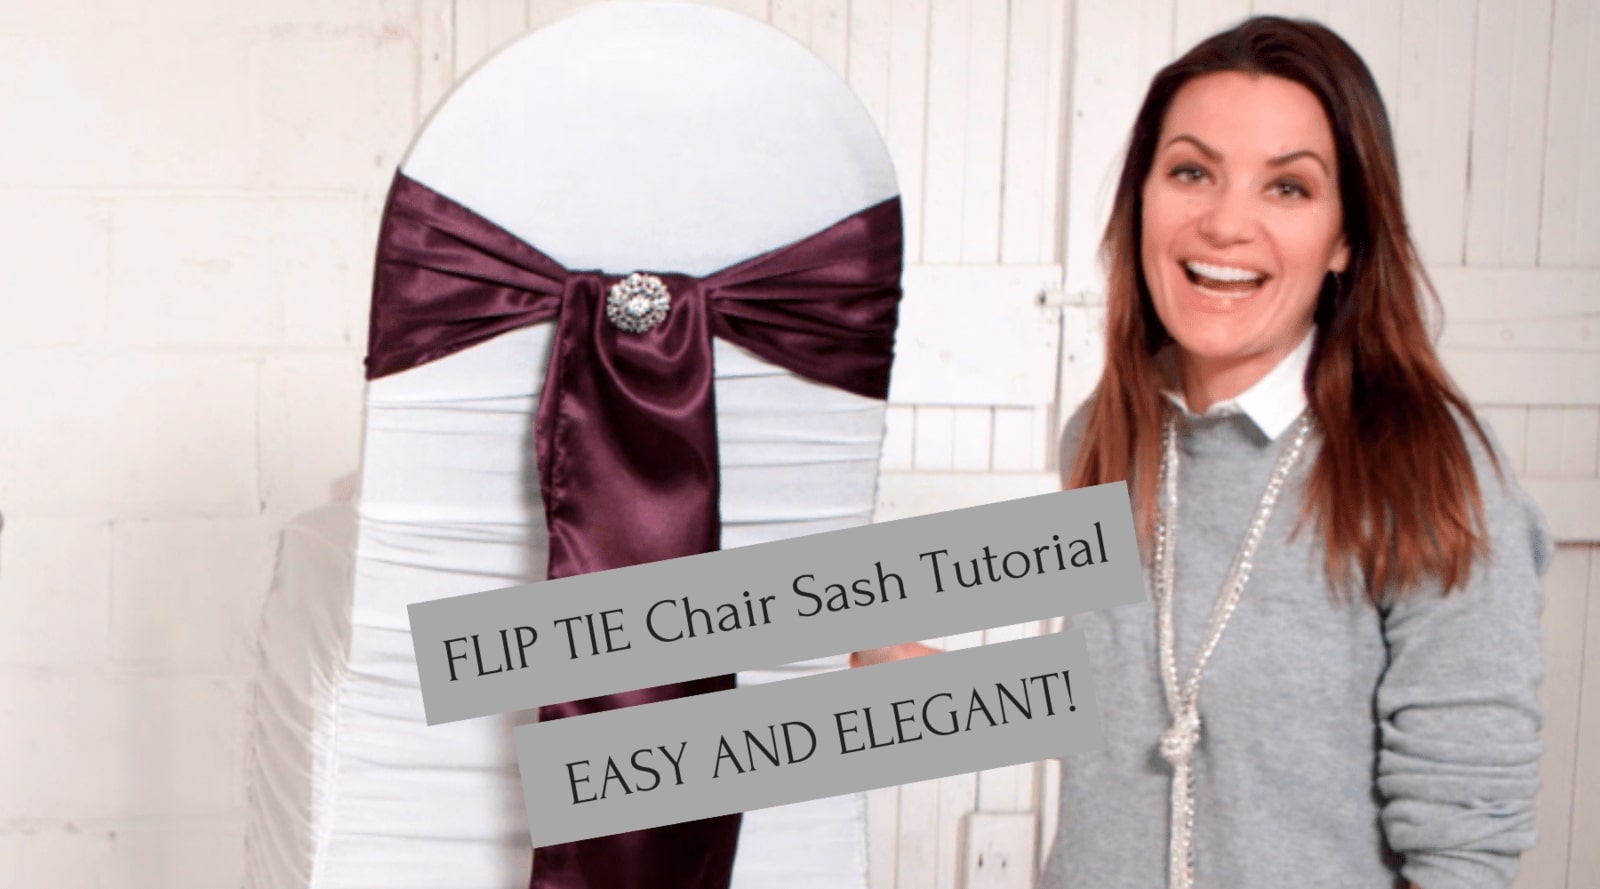

Elegantly tailor your chair sashes with this beautiful flip tie method
I absolutely love when I come across super easy DIYs that look amazing and high end. Today's tutorial highlights one of those super easy to make but still unbelievably beautiful chair sashes. The flip tie method is so quick to create and looks so elegant that it will leave your guests stunned.
This method will work on any chair of your choice with any type of fabric. For that smooth and elegant look, I've used a black raw silk sash. It's extremely soft to the touch and it also looks and feels luxurious. If you're willing to splurge a little, this is a great option for this chair sash tie. For a more cost-effective option, you could opt for a satin sash too and it will still look and feel grand.
Watch the tutorial
In order to make these DIY flip tie chair sashes you'll need:
- A length of fabric. Any fabric that suits your theme will do.
- Your choice of bling brooch or buckle slider
- A chair (I've used a chivari chair and a banquet chair for this tutorial)
I love that this look is so easy to achieve and it doesn't use any glue or sewing. All the glam lies in the tie and, of course, you can kick up the glam effect a notch by simply adding a bling brooch.
Start by folding your sash to find the center. You'll be using the center to gauge where to fold it on the chair. Arrange the center of the sash around the chair and wrap the ends forward to your side (this will be the back of the chair, where you'll be folding the flip tie). Create a knot and ensure that your knot is nice and tight. You can pull the knot all the way through, or simply leave a loop, making the unassembling a whole lot easier for you. Arrange the longer tail so that it's in the front and then simply flip it around the back of the knot and over the top. That's it. Neaten the flipped tail a little and you've just created a gorgeous flip tie chair sash.
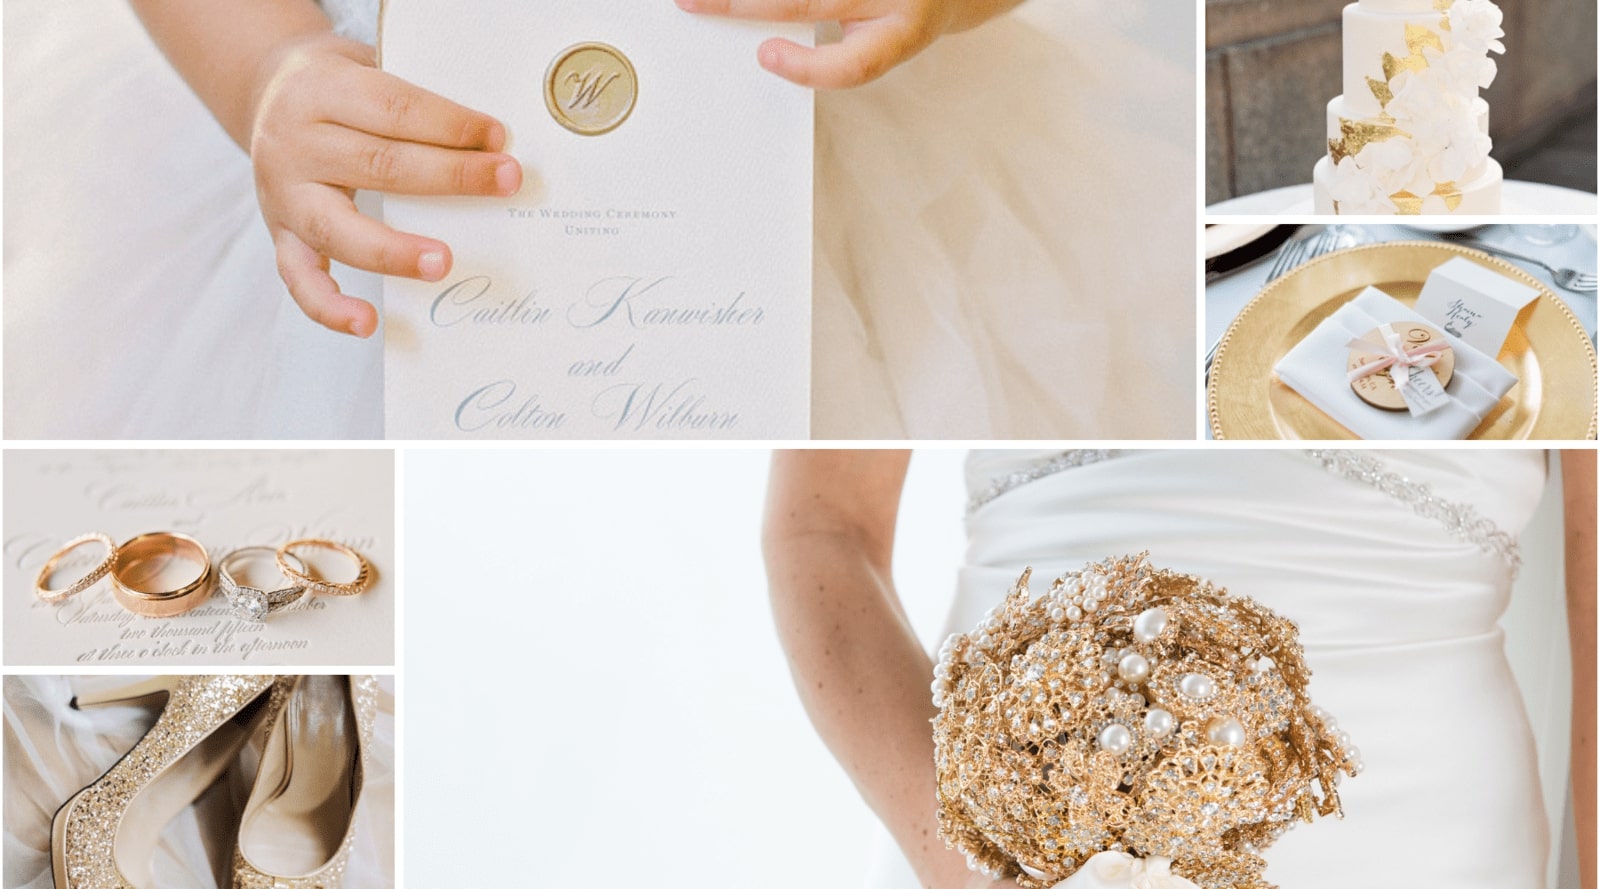
The antique starburst brooch is a great option for adding a bit of bling to take your chair sashes to the next level. Another favorite of mine is the diamante flower brooch, which is the brooch I've used for this project, as it's timeless and gives your projects a lovely sophisticated feel. There are brooches for just about every type of event and wedding and if you'd like to customize the brooches to really suit your personal style, you can combine them with a few smaller pieces and simply glue flat backs of your choice to the brooch.
Quick Ideas
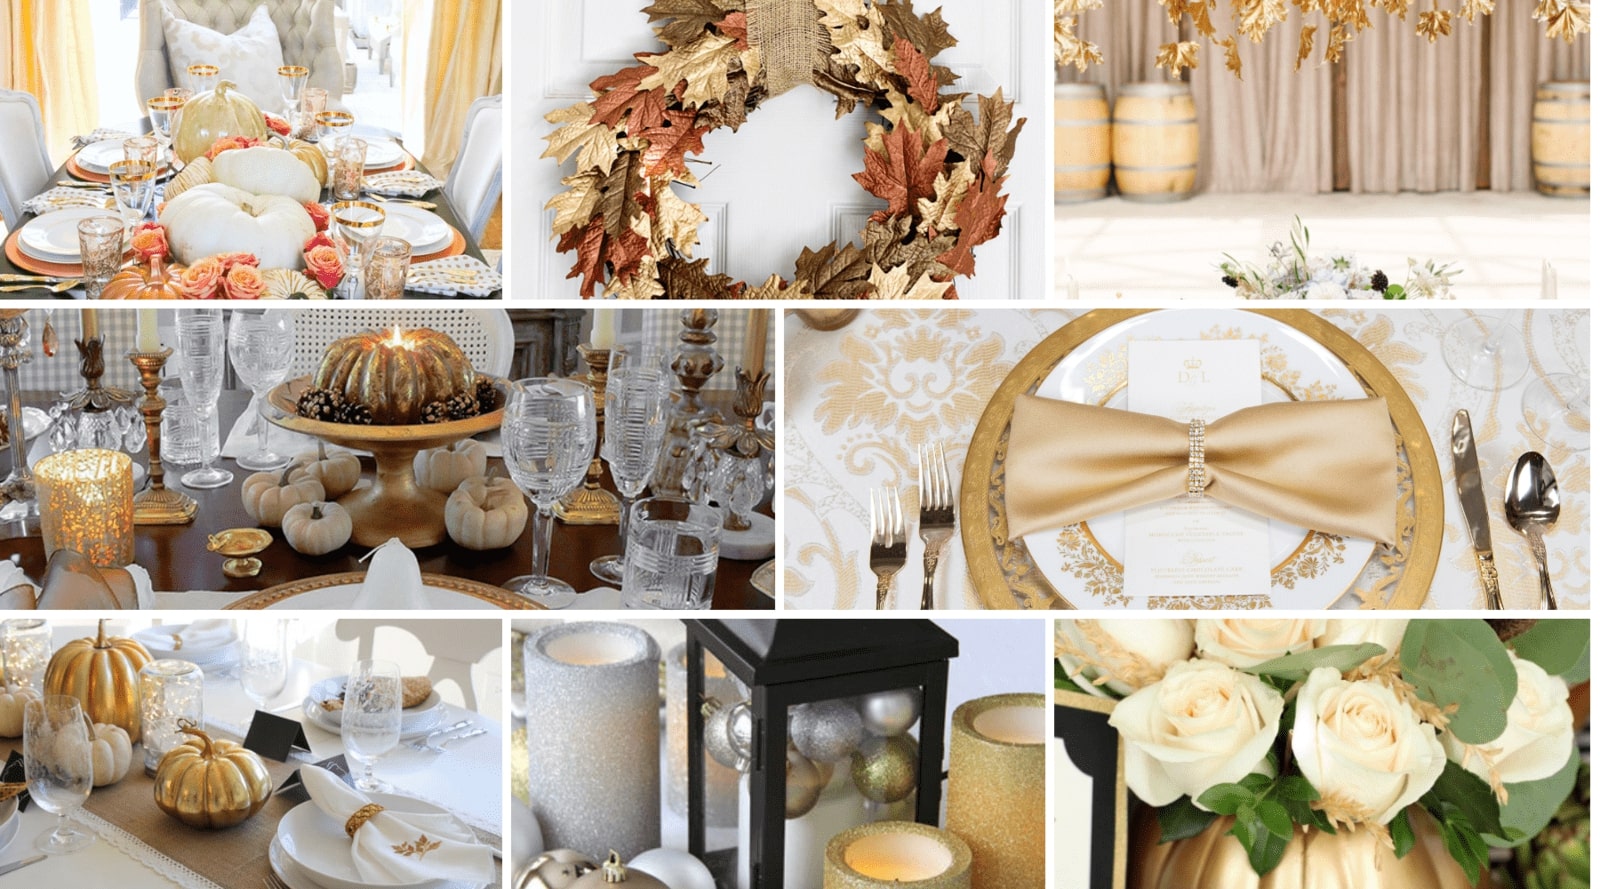
The color of your chairs as well as the type will automatically change the look you're going for. Add to that the feel of your chosen fabric will make a huge difference to your overall design. Play around with texture as well as color to communicate your chosen style.
As mentioned before, mixing and matching rhinestone pieces are a fantastic way to ensure that you are getting the most out of your look. the brooches are always easy to add to projects but I know that sometimes you just want that something extra and by combining two pieces, you're able to achieve that look.
Another way of playing around with your chair sash design is to add a few extra items to your sashes. I love the minimal look but there may be a wedding concept that calls for a few design details like feathers or lace. Perhaps even a few flowers? Playing around with these ideas can really take your chair sashes up a notch.
Shop the Rhinestone Products we used in the making of this diagonal chair sash