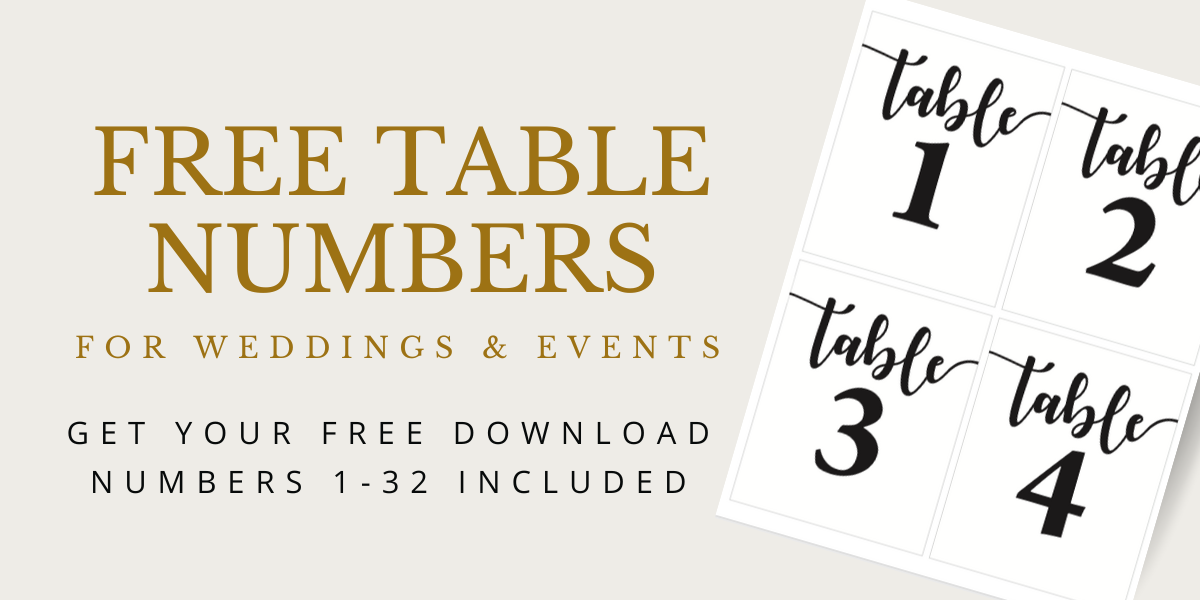
Wedding Favor Box Decoration Ideas - YouTube Tutorial
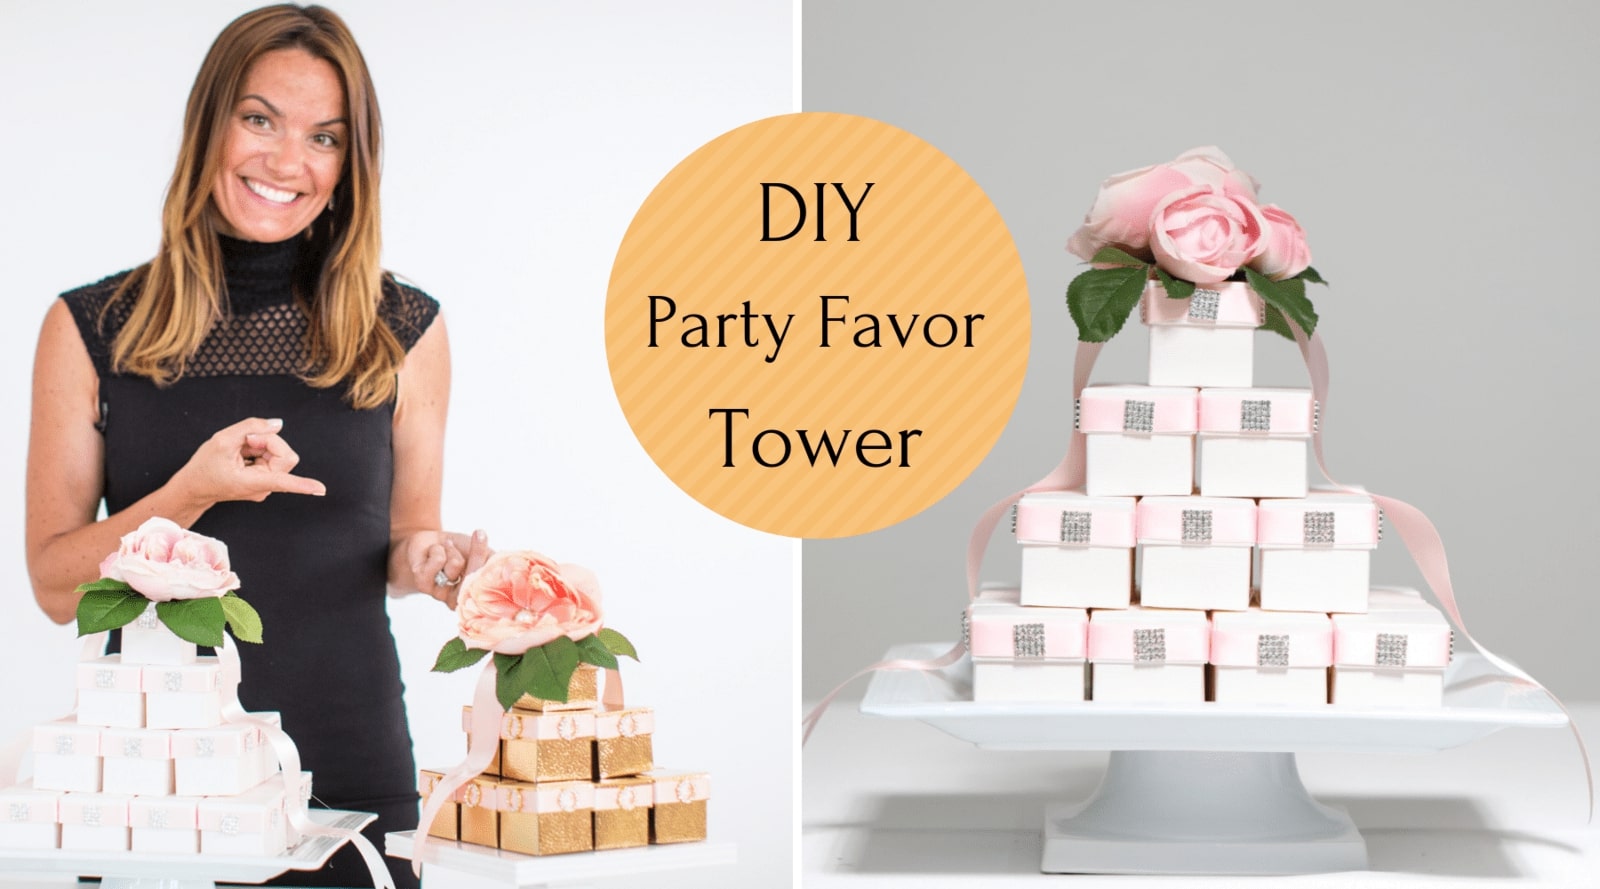

A perfect presentation for wedding favors, bridal shower favors, and baby shower favors
I first saw a similar project featured on a Martha Stewart blog post a few months back and totally fell in love with the style. I created one of these for our upcoming 2017 lookbook and loved the final product and thought it would be a great idea to share the tutorial with you all today.
It’s the perfect DIY for a stylish and stunning way to display your party favors at an elegant wedding, event or even baby shower. Creating favors is the first step to a lovely thank you but very often it’s easy to get caught up in the planning and creating of the favor itself that the presentation is left to last minute. This beautiful part favor tower makes use of the actual favor box as decoration and presentation, so half the work is already done!
Watch the tutorial
In order to make your party favor tower you’ll need:
- Cake plate of your choice
- Favor boxes of your choice
- Ribbons in the width and size of your choice
- Rhinestone embellishments of your choice
- A selection of artificial flowers for your topper
- A glue gun and glue sticks
- Scissors (to cut the ribbon).
A quick tip
If you’re planning a large wedding, the quickest and easiest way to get started on your favor tower box is to get all your goodies ready. Fold all your boxes, if they aren’t already folded, measure and cut all your ribbon length to size, ready your chosen rhinestone embellishments and you’ll be set to start putting your project together. This is also a great way to get more people to help with the project and ensure that the end product still looks great.
Securing the ribbon and bling
Once your boxes are folded, ribbons cut and embellishments arranged, you can go ahead and put it together. I’m using the gold rhinestone circle buckle for this tutorial but buttons and flat backs will work just as well, depending on the look you’re going for and the level of work you're willing to put in (buttons will be better sewn on). As I’m using the slider buckle, we’ll start by sliding the ribbon through the slider buckle before attaching the ribbon to the box.
If you’re using flat backs for your party favors, you can go ahead and attach them after attaching the ribbons. Some of the embellishments can be a bit heavy, so using a strong glue is a great idea.
I’ve created a party favor tower that looks great from all angles by attaching bling pieces to two sides of the corner boxes. This just ensures that all the sides of the open sides of the boxes in your tower has a beautiful bling piece on it. For those of you who have chosen to use one of our slider buckles for your project, simply slide two buckles onto your ribbon before gluing it in place and ensure that there is a bling piece on any two touching sides of your box to create those corner boxes. If you’re making use of one of our flat backs, then you can glue the bling pieces on as you arrange your boxes.
To create the topper
If you’ve chosen to embellish your tower all the way around like I’ve done mine, keep in mind that your top box will need four embellishments. We’re going to add our flowers and a length of one and a half inch ribbon to the topper.
You can decide how you’d like to style your floral piece. I’ve chosen to use a beautiful big flower and fill it in with two smaller flowers using a few of the leaves as well just to give it that gorgeous dimension. My large flower was far too much for the party favor box so I removed a few of the bottom layers as well as the inner plastic piece. I then added a circle diamante flat back using a dab of glue from the glue gun to the inside of the flower to give it that extra special touch.
Measure out a piece of your wider ribbon by laying it across the base of your cake stand, over the top box, and to the other side. Affix the ribbon to the lid of the top box with a strip of glue from whichever tool you chose to use ensuring that the sides are equal.
The next step is to add the leaves. It’s always a nice idea to layer the leaves, giving the look a bit of depth. Add your bigger leaves, off-center with the smaller leaves to each side. Adding the flowers, I placed the large flower on top of the large leaves, putting the smaller buds behind the large flower to give it a lift. It looks amazing from all angles. Of course, you can play around with the flowers to see what look you prefer.
And that’s it. Glue your floral pieces to the top of the box and you have a gorgeous, party favor tower topper.
As always, you can use any choice of colors, textures, embellishments, and extras like ribbons and floral pieces to create your super stunning project.