Statement Necklace Tutorial - DIY Wedding Necklace
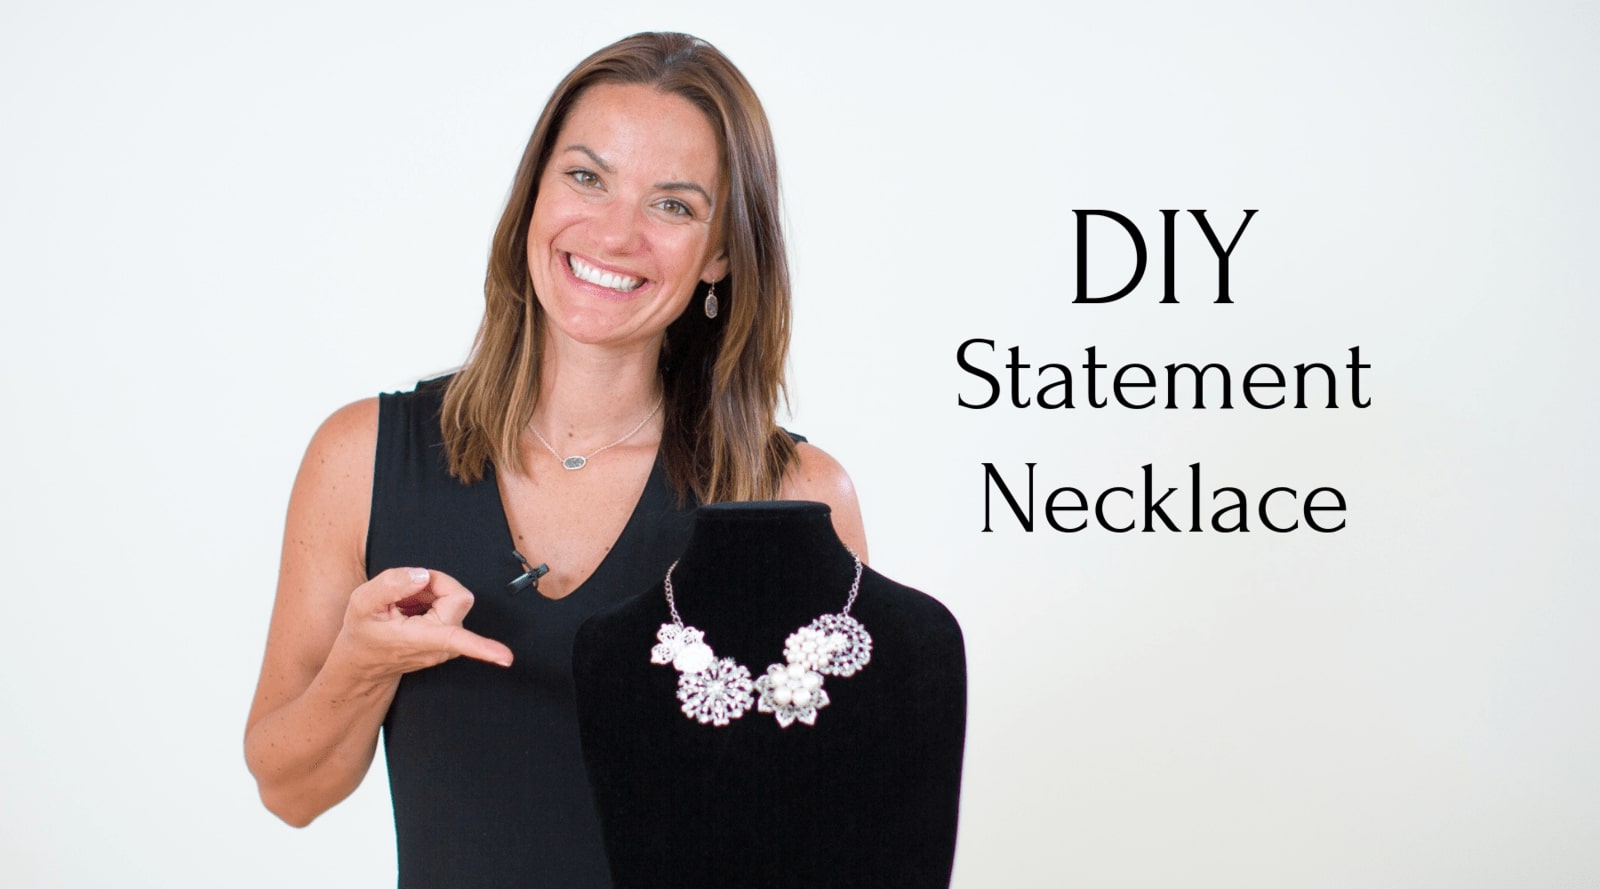

A gorgeous statement piece perfect for weddings or as bling accessories to your next big event
I've got a completely new kind of project to share with you today and I'm very excited about it as it's super easy and so much fun to create. This DIY statement necklace not only looks great but makes for a lovely bridesmaid's gift or simply as an accessory for a wedding or special event.
One of the best things about this simple DIY is the many various options available. At the end of the video, I've added a clear view of how my statement necklace turned out with the combination of rhinestone brooches and embellishments that I chose. However, yours could look totally depending on the bling pieces you choose - that's the fun part!
Watch the tutorial
What you’ll need to get started on your own statement necklace
- A chain - I've purchased a plain silver chain at Michael's as I'll be using silver embellishments.
- A needle nose pliers
- Wire cutters
- Jump rings. Again, I've bought silver to create a seamless design a glue gun (for smaller pieces like flatbacks that can simply be glued on to layer the pieces.)
- Your choice of bling pieces - Selecting my combination was probably the most fun I've had in a while. You can literally use any pieces you'd like together. I've made use of silver and pearl pieces from the the silver with pearl and clear bulk embellishments, to give the necklace some life and depth
As a starting tip, create the design or pattern that you'd like before you begin to fix the pieces to the chain.
You'll need to open up your jump rings but, as in my experience, it's a little harder to close the jump rings again so don't open them too wide. Use two jump rings for each bling piece. This simply gives the embellishment a firm grip on the chain. Continue to attach the pieces to the chain until you've completed your pattern and achieved the look you'd like.
I love the idea of layering smaller bling pieces on top of the others. You'll notice that in the video, I switched to using the glue gun for the smaller pieces with flat backs. Even though the pieces are smaller and easier to attach with glue, do be sure to make use of a super high strength glue stick.
Quick Tips
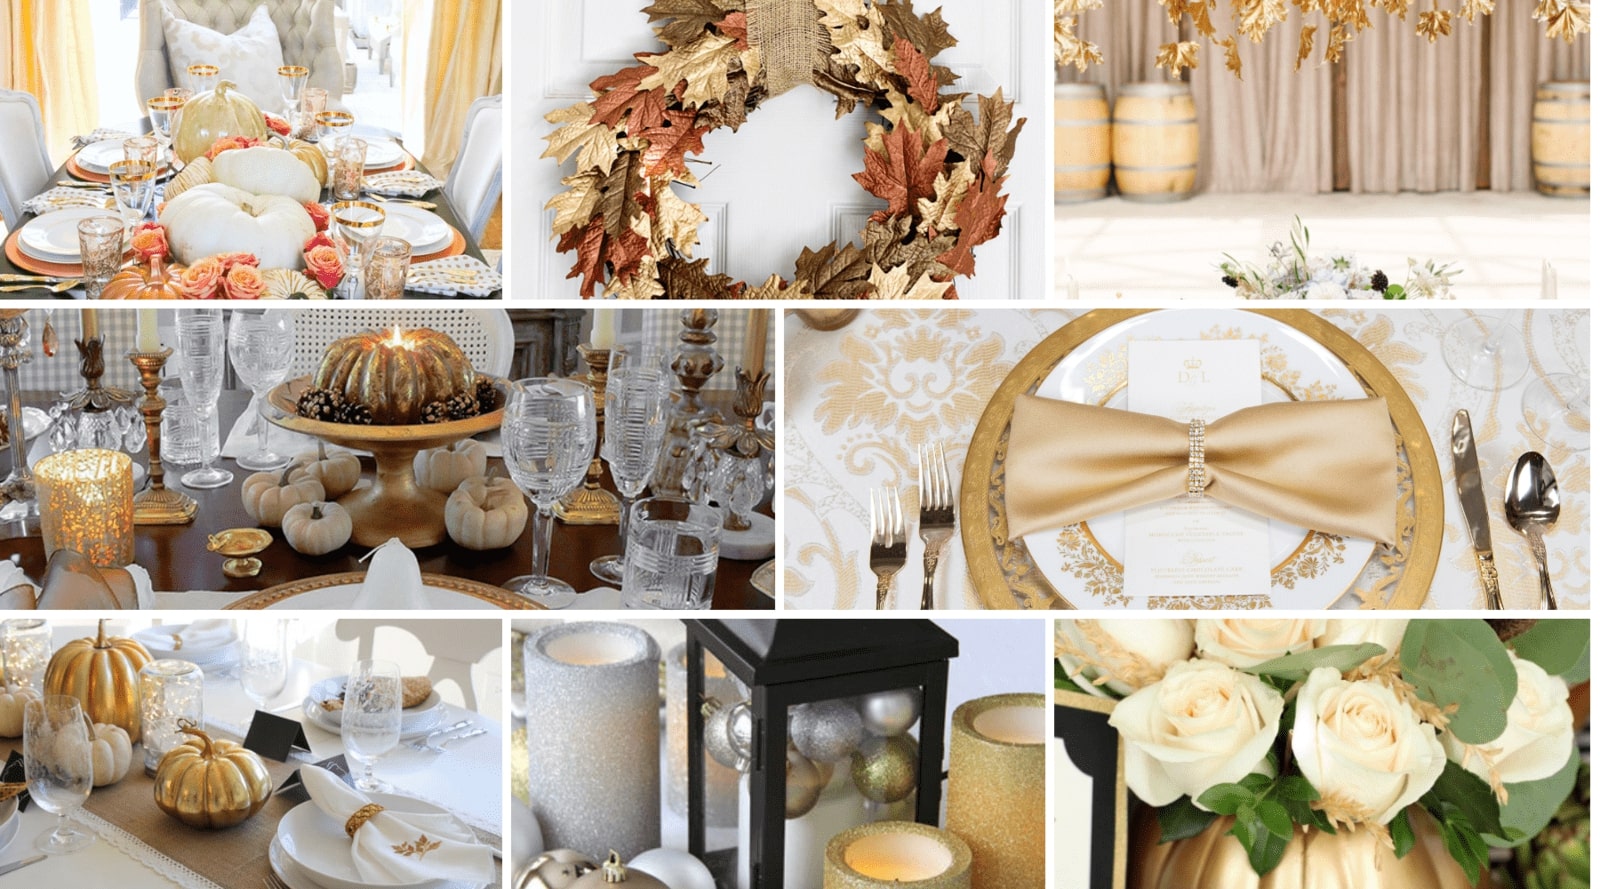
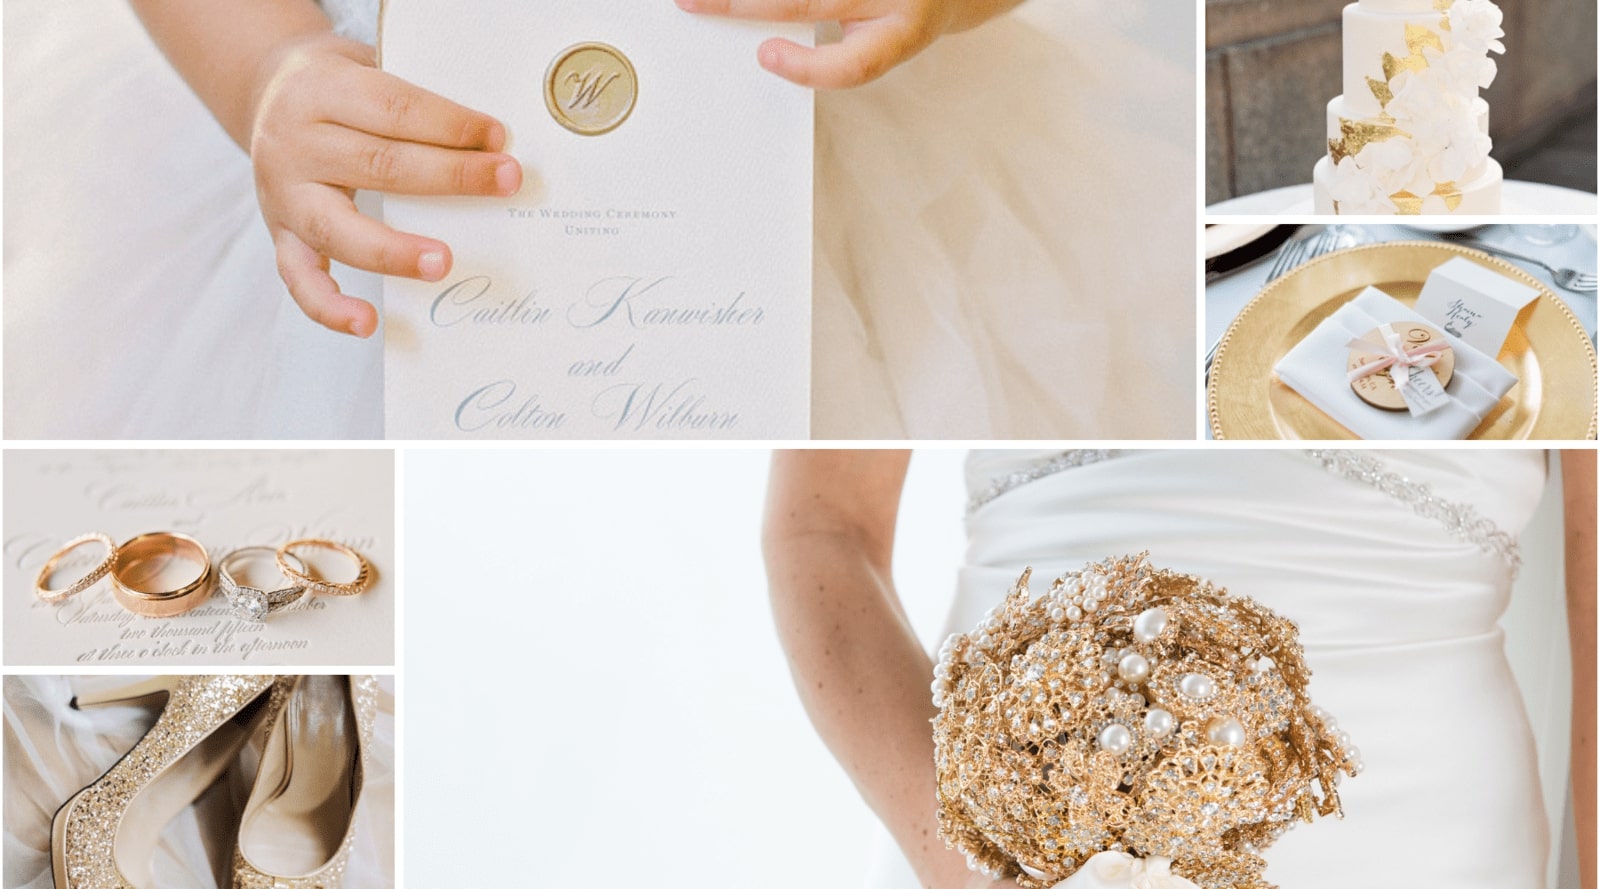
- Combine gold and pearl pieces for a timeless and classic look. Silver and pearl will give you a more modern look.
- You can get creative with the type of embellishments you'd like to use, stick to one type or create a structured pattern. There's no wrong or right here.
- Layering your bling pieces gives you more of a statement and is a great way to add depth to your accessory.
All in all, this tutorial is one of the easiest tuts we have on our channel. It does require a little bit of patience to work with the jump rings but you'll have so much fun making this necklace, that that shouldn't bother you at all.