DIY Brooch Bouquet Tutorial - Glue only method.

DIY Wedding brooch bouquet
styrofoam ball glue only method
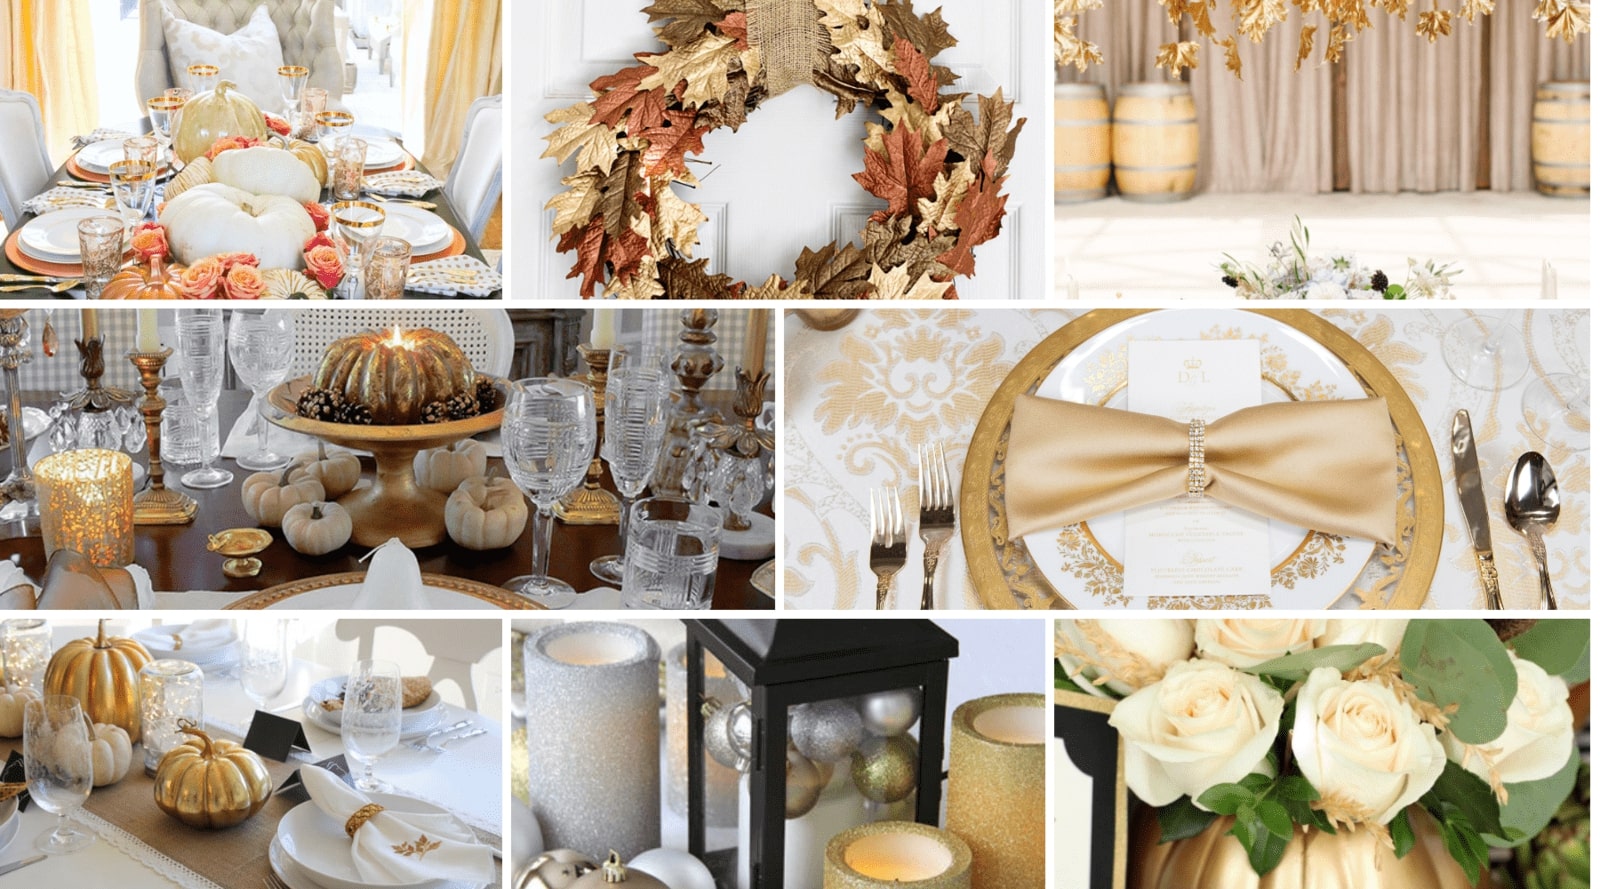
If you love bling as much as I do, then you’ll love today’s project. It’s simple, easy and looks absolutely stunning once finished. As a bonus, it’s also a lot of fun putting the bouquet together and will easily become one of your favorite wedding DIYs.
Not only is this a great idea for the brides wedding bouquet, a bling brooch ball bouquet like this would be perfect for your bridesmaids too. Perhaps create a smaller version with variations like a different ribbon color or the addition of a bow to the bride’s bouquet to give it a little bit extra.
There are so many different ways that you can make this project your own. Enjoy the process and don’t forget to send in your pics of your brooch bouquets by simply tagging us on Instagram using the #totallydazzled.
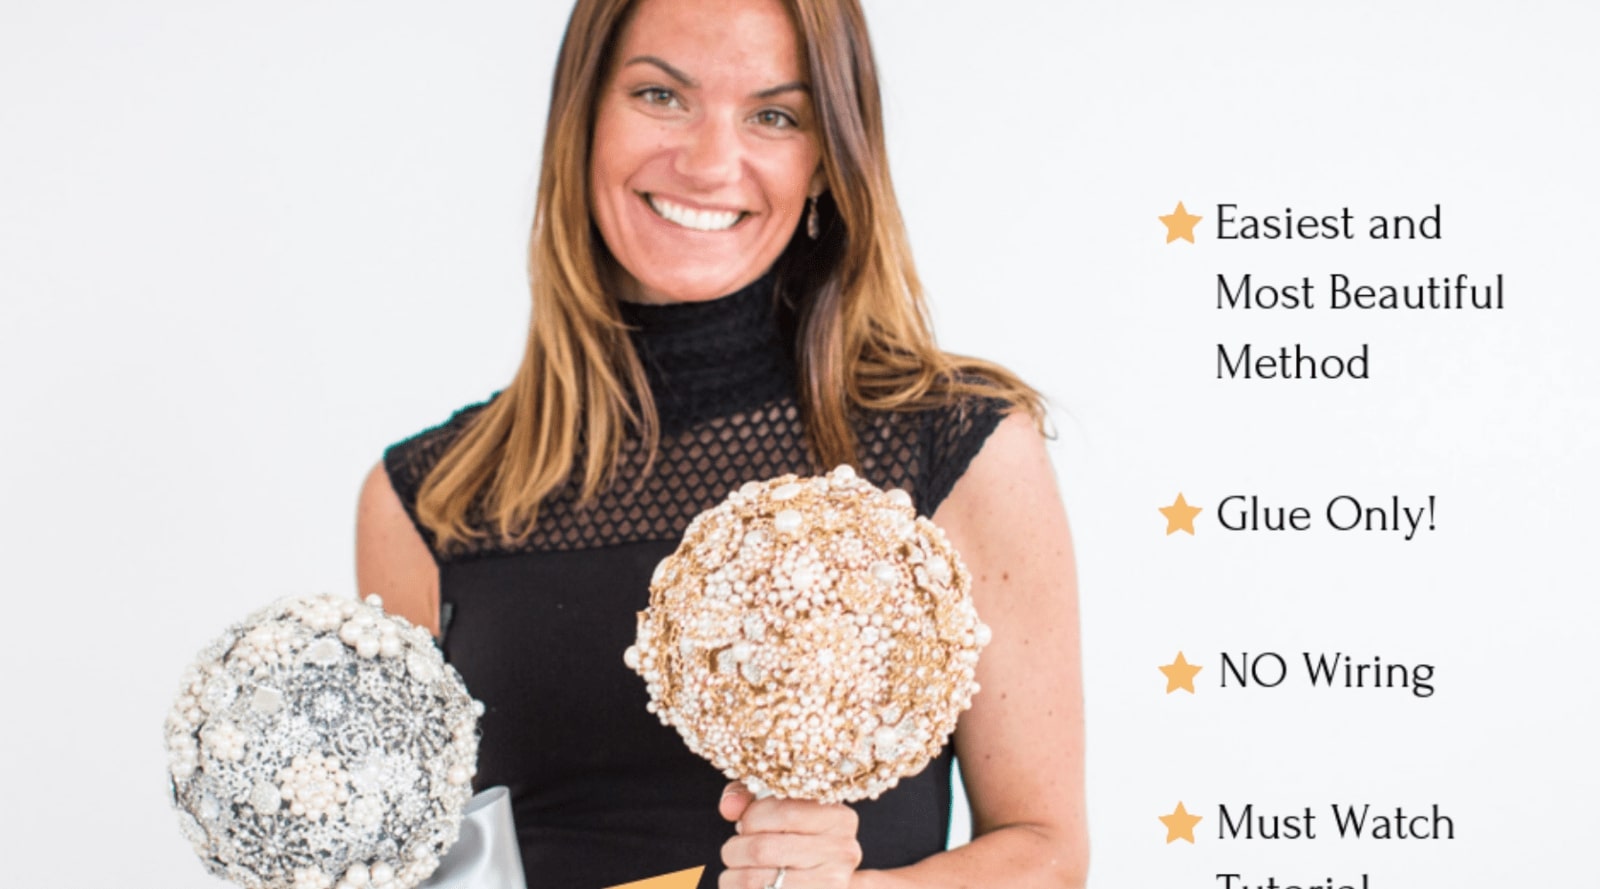
Watch the tutorial
In order to make these DIY brooch bouquets you'll need:
- A Styrofoam ball – I’ve used a 6-inch ball and it’s the size I recommend as the finished bling bouquet can be a bit heavy. The final product, bling and all, ends up being a good size as well.
- A selection of bling - the mixed bulk embellishments are the best way to add a few variety pieces that can't be found anywhere else on the website. They come in packs of 10, 50 and 100 and are the best value!
- A dowel, cut to size
- A length of ribbon in the color, style, and texture of your choice – I’ve used a 1 and a half inch ribbon for the gold bouquet and a 2 and a half inch ribbon for the silver bouquet.
- A marker
- A glue gun and glue sticks – I recommend using the high low temp glue gun with the matching dual melt glue sticks used on the high heat setting – this is the greatest hold for our brooches that I’ve come across so far as some of our brooches are a little heavy due to the great quality.
- Scissors (to cut the ribbon) Wire cutters – to cut off the backings of the brooches
- Paint and paint brush – I’ve used a foam brush for this tutorial
- Plate – to paint on
Shop Bulk Embellishments:
Bulk embellishments offer a fun and unique mix of designs and styles, perfect for your brooch bouquet. Some available with clear crystals, others also incorporate pearls in a variety of finishes. You can view the whole collection here!

Step 1
Paint your ball
Step 2
Hollow out the space for the dowel
Step 3
Wrap the ribbon around the dowel. It doesn’t have to be perfect at first, as you’ll wrap over the rough ends, do make it easier on yourself and glue the end of the dowel to the ribbon, gluing as you go along.
Step 4
Glue the dowel to the painted foam ball.
Step 5
This is where all the fun begins. I like to start with two or three bigger pieces and fill in the in between spaces with smaller pieces. You can use the combination or arrangement of bling of your choice to suit the style of your wedding brooch bouquet. I’ve used a selection of our silver brooches for this tutorial.
You’ll notice that I’ve used a tall vase to set the bouquet on. As the bouquet comes along, it can become quite heavy and it can be a little tricky to work with it as you’ll need both hands to firmly place the brooches on the foam ball. The vase helps to keep the brooch bouquet in place throughout the project.
This is probably one of the easiest brooch bouquets I’ve ever made and most certainly the most beautiful. No special skill or knowledge of floral arrangements is needed for this and you can be as creative as you like with your brooch bouquet.