Your Cart is Empty
DIY Wedding Bling Centerpiece with Floating Candles

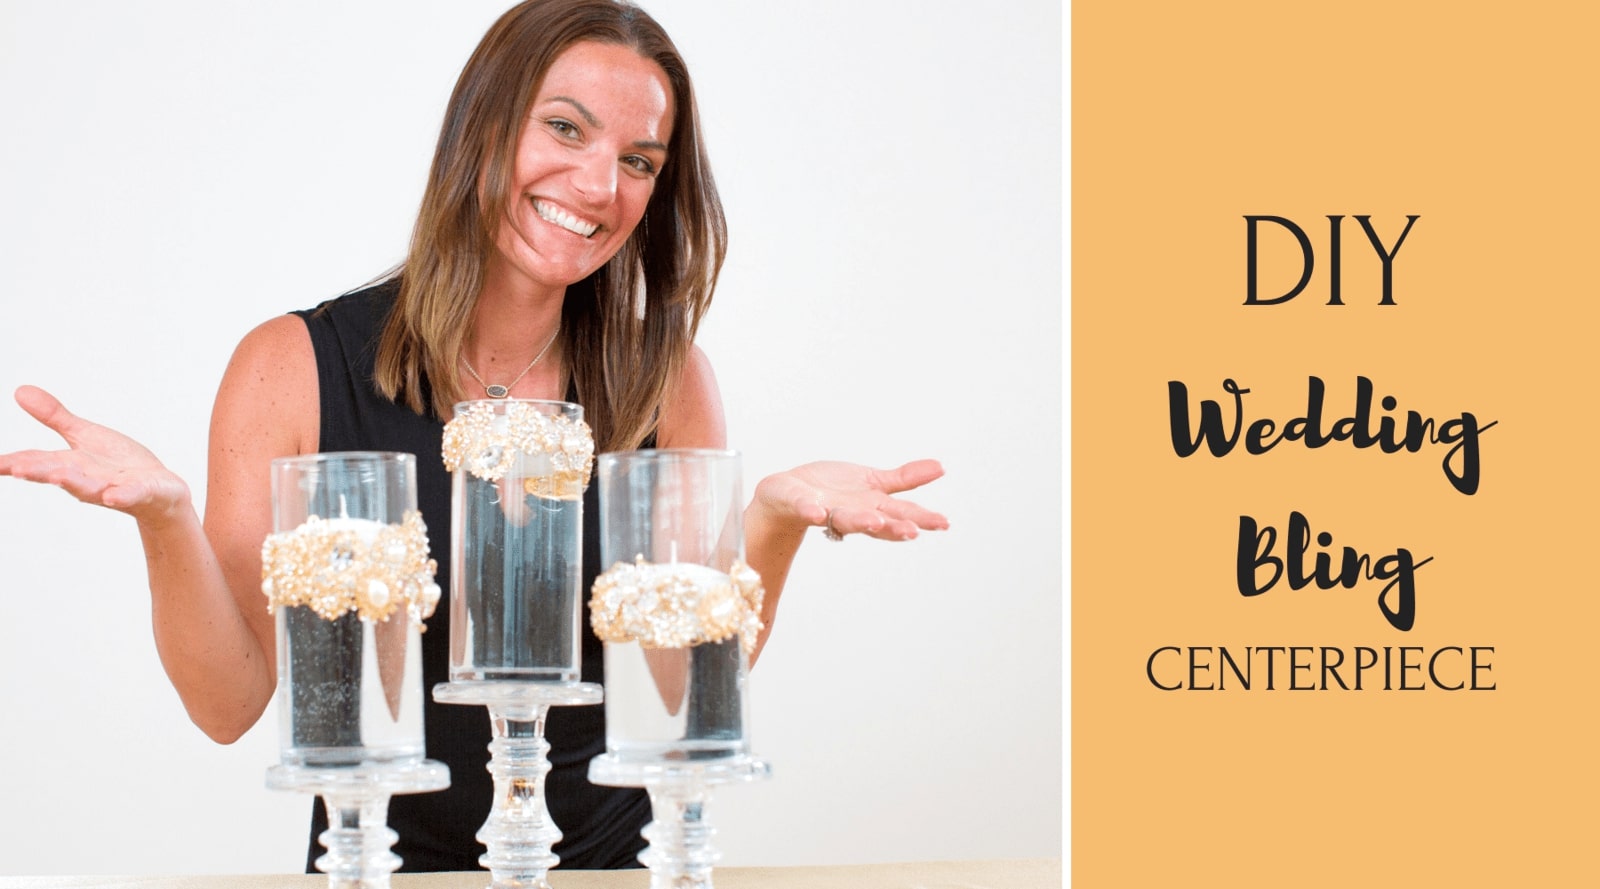
A DIY wedding bling centerpiece with floating candles, perfect for the budget event
At Totally Dazzled, we love creating new bling tutorials that add value to your wedding or event planning without breaking the budget. Today’s tutorial is a cost-effective version of our very popular DIY video tutorial, the brooch vase centerpiece.
Many of you who loved the video, reached out to me in the comments, suggesting a spin-off the brooch vase bouquet that doesn’t cost as much and I hope that this solution meets those requests.
Watch the tutorial
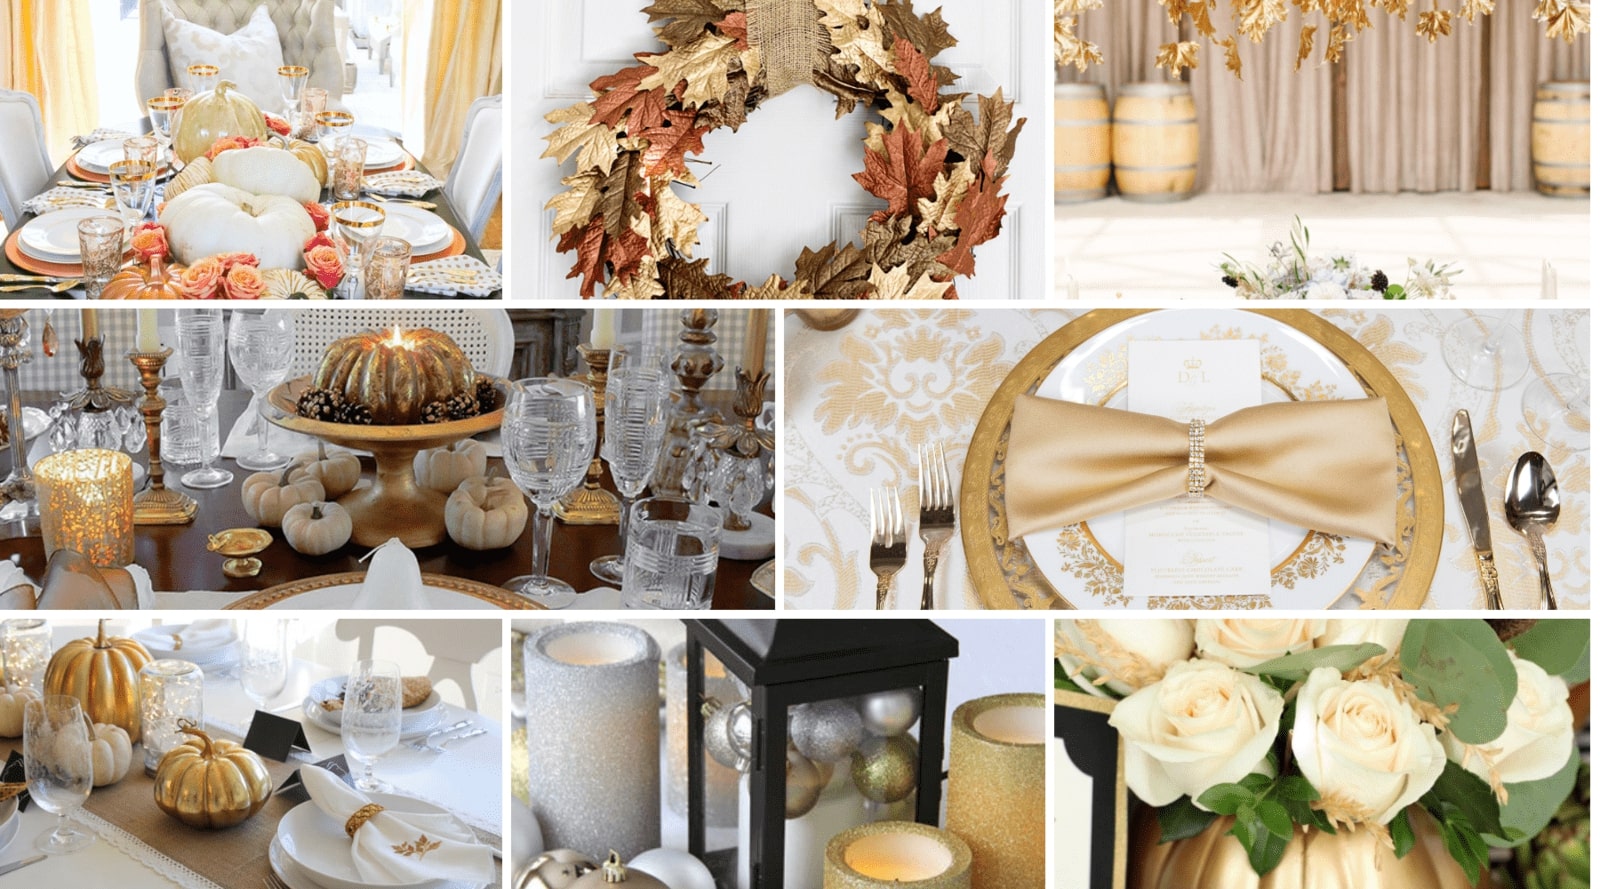
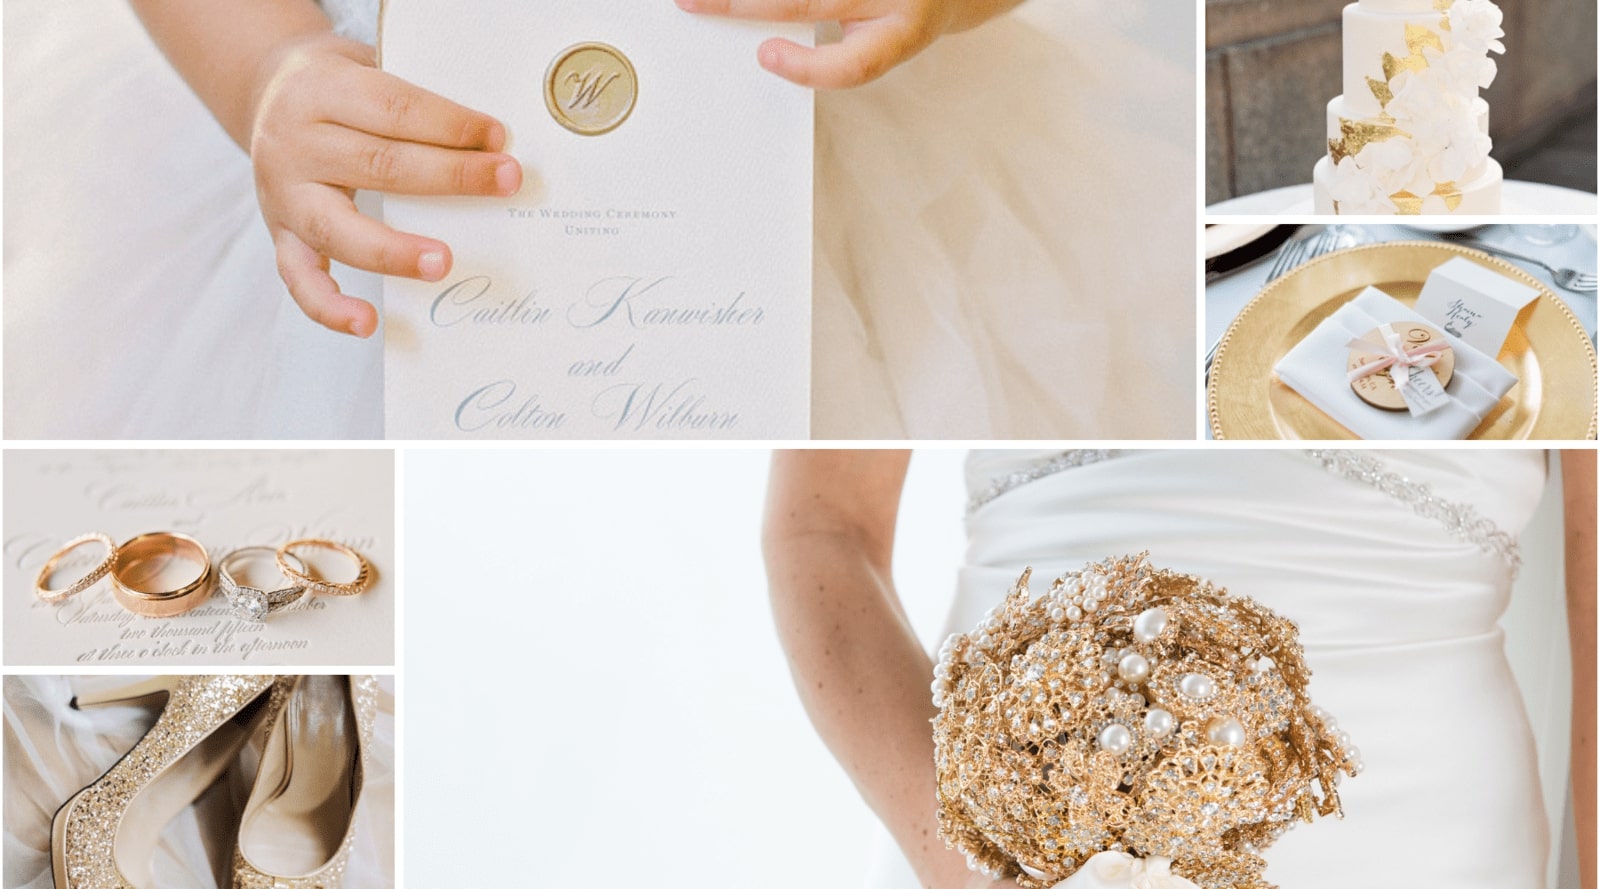
Beautiful centerpieces for your event tables can very often be the highlight of wedding décor as they not only fill the table but add gorgeous eye catch design elements that suit the concept. So getting it right and creating a tutorial that knocks your socks off is a huge source of joy for me.
So to kick off this tutorial, let's get started with the items you'll need.
What you’ll need to create your own bling centerpiece with floating candles:
- A vase of your choice. I bought the vases used in this tutorial from the Dollar Tree at very cost-effective prices. For ease, I used a simple, cylindrical vase, however, you can use any type of vase that you’d prefer.
- Floating candles or flowers to fill your vase.
- Wire cutters (to remove the backing of the rhinestone brooches)
- A glue gun as well as good quality, high strength glue
- And lastly, a selection of your favorite Totally Dazzled rhinestone brooches.
The project is possibly one of our simplest that we have made to date and all you need to do is glue the brooches (after removing the backing) to the vase. I love the layered look, so I’ve used a variety of brooches in different styles to create a free-flowing bling pattern around the vase.
Mixing bigger brooches with a few smaller ones are a great idea for this and you can sort of puzzle them together in the pattern that you like best. And that is all there is to make an absolutely gorgeous bling vase centerpiece.
A Few Quick Ideas:
- Use more than one vase of different heights to create a beautifully layered centerpiece design.
- Adding floral elements to your table setting will add a lot of depth too, depending on your theme.
- The easiest way to customize your bling vases is to use a different selection of brooches. All silver from our silver collection, all gold from our gold collection or all pearl and rhinestone. For those of you who haven’t seen yet, we have a beautiful rose gold collection out as well.
- Another option, for those of you who would like to repurpose your vases after the event, is to not glue them directly to the vase but rather glue them to a measured piece of wire mesh that you can secure with a few drops of glue just for the event (this will be easier to remove as opposed to a row of glued brooches).
If you’re looking for more tutorials like this one, be sure to take a look at the Totally Dazzled YouTube channel where I add new tutorials as I make them.