Your Cart is Empty
Napkin Folding Tutorial Bow Fold Technique with Added Bling

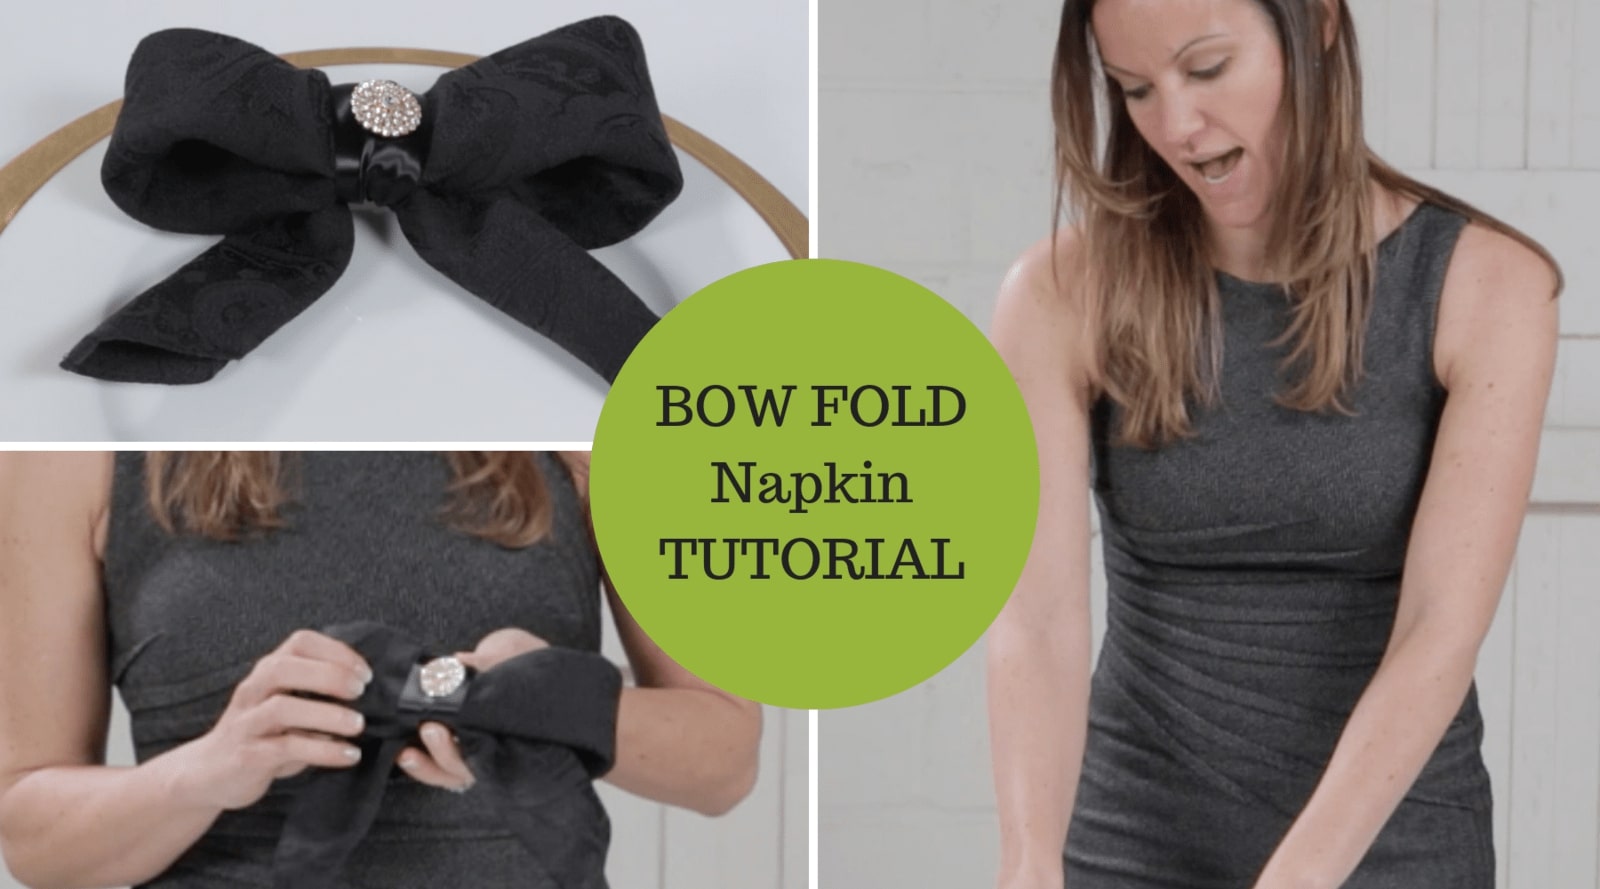
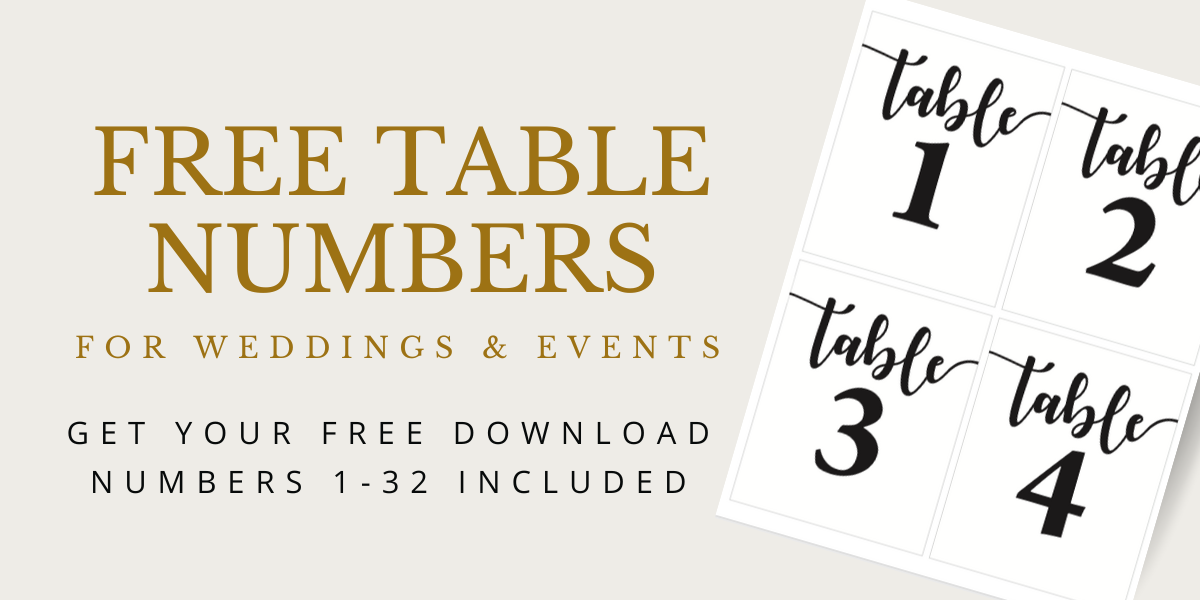
Learn how to fold a bow-fold napkin
If you like to experiment a little with your table settings, you’ll love today’s tutorial. I love easy DIY’s that save time and money. This bow-fold technique is one that fits the bill, is actually pretty easy to make (even though it looks a bit complicated), and looks great for a variety of wedding themes and events.
You’ll Need
- A napkin of your choice
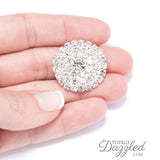
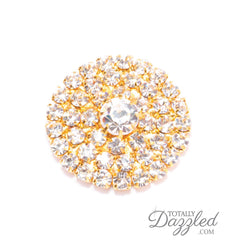
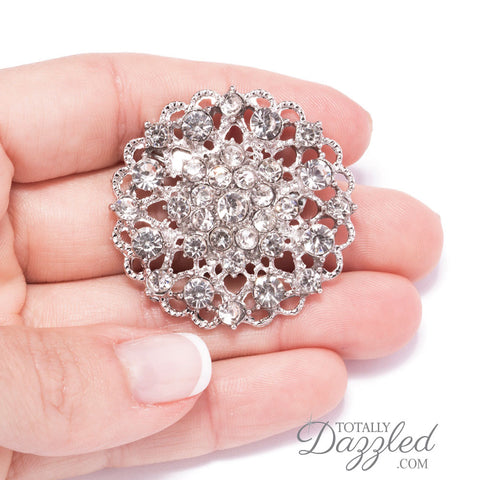
- A rhinestone embellishment of your choice. I used the Floral Rhinestone Flat Back in Silver for this tutorial but the Gold Floral Rhinestone Flat Back or any other embellishment, for that matter, would look great.
- Ribbon of your choice
- A glue dot, or a glue gun. Make sure that your glue is strong in order to ensure that your embellishments don’t easily come off.
- A Pair of scissors to cut the ribbon lengths
Start with the rough side (or the underside) of the napkin facing up. This will ensure that your guests see the smooth side or the side with the design if there is one when seated at the table.
Fold the napkin from corner to corner. Turning the napkin around so that you have the point of the triangle facing down towards you, roll fold the napkin in sections toward the top. Hint: You can decide on the width of the bow by increasing or decreasing the width of the fold here. Turn the folded napkin around and fold the ends in towards the center at an angle. You should have two “tails” here which will be the tails of your bow.
Cut a length of ribbon and place a glue dot somewhere near the middle of your ribbon. Apply the rhinestone embellishment here. Tie the ribbon around the bow you’ve just folded, ensuring that the rhinestone embellishment is at the front of the bow. Tie, or glue your ribbon and trim the ends of the ribbon.
For the last step; tweak the loops of the bow a little to achieve the desired effect and really add character to your napkin bow.
And there you have a beautifully elegant embellished rhinestone and ribbon bow-fold napkin that will look great on your table.
Quick inspiration
- Change up the look and feel of your napkin bow by changing the width of your ribbon.
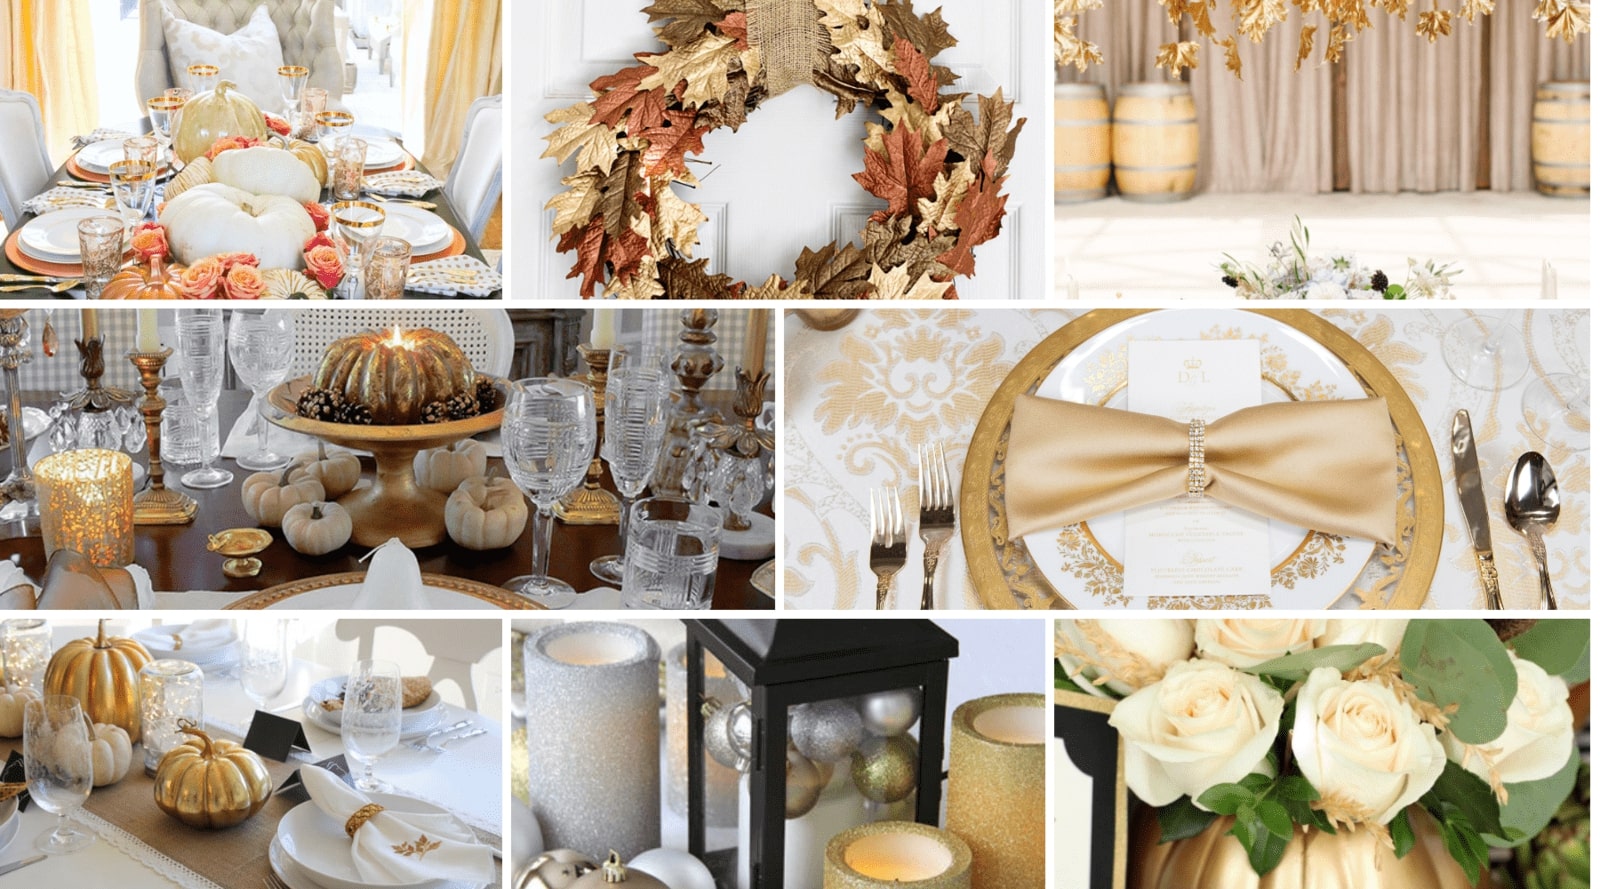
- Use contrasting or complementary colors for your napkins and ribbons. You could also add depth to your napkin bow by using the same colors and different material types/textures.
- Choose your own Rhinestone Embellishment that suites your event theme or reflects your personal style.
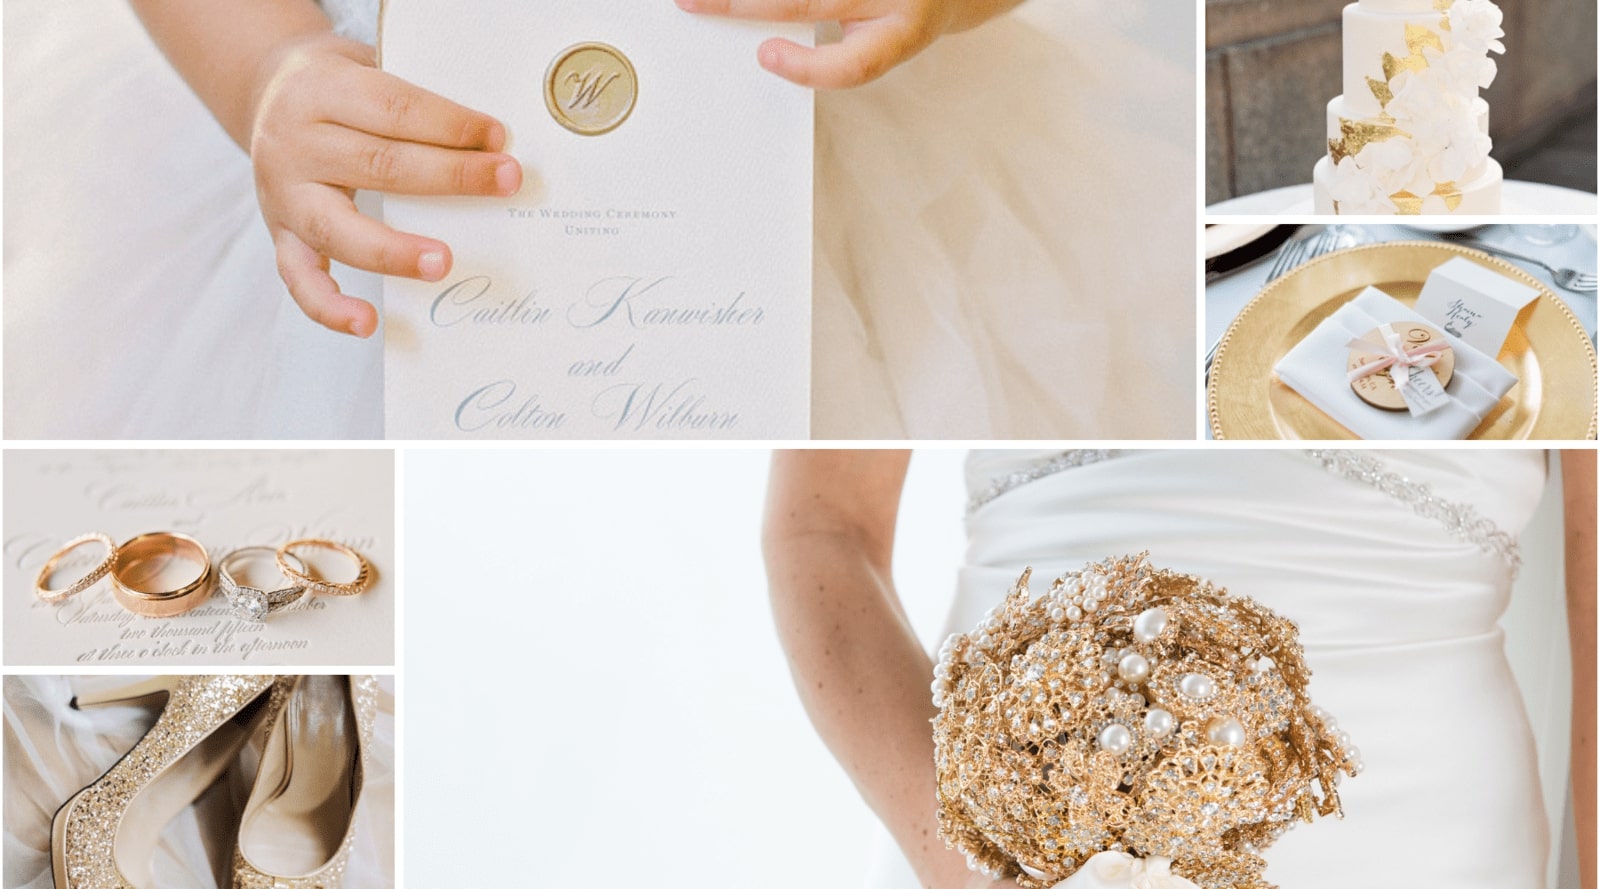
- Want a quick way to tie the ribbons in to the rest of your design? Create ribbons for your flower girls’ hair and use the same embellishment for the hair ribbons.
I used a lovely satin ribbon here but the options are endless and this ribbon fold technique would look amazing with a huge variety of material types. If you’re planning a rustic/bohemian wedding and love the look of the ribbon, add a few natural elements to your bows. Use burlap, or lace, in place of your ribbons. Add vintage brooches like the Ornate Flower Brooch that guests can take home with them as a lovely reminder of the event. Most of all, have fun while you make your unique Bow-fold napkins.
If you’re like me and you love DIY tutorials, subscribe to the Totally Dazzled Youtube channel for ideas on how to easily add bling and elegance to your wedding décor.